Hardwood floors always make a good impression—when they’re squeaky clean, that is. However, if your floors have started to look a bit dingy (or worse, the soles of your feet look dirty after walking on them) then your regular cleaning routine might not be cutting it. Enter: the deep clean. Although hardwood floors aren’t terribly fussy, they do need a little TLC from time to time. Fortunately, whipping your hardwoods back into pristine condition is easy, as long as you know how to deep clean hardwood floors the right way.
How to Deep Clean Hardwood Floors so They Sparkle

•
Published Apr 19, 2021
PureWow editors select every item that appears on this page, and some items may be gifted to us. Additionally, PureWow may earn compensation through affiliate links within the story. All prices are accurate upon date of publish. You can learn more about the affiliate process here.
alvarez/Getty Images
Deep cleaning vs. regular cleaning of hardwood floors
Aside from their obvious aesthetic appeal, hardwood floors also have the benefit of being particularly easy to keep clean—there’s no grimy grout to scrub and, unlike carpet, you needn’t worry if your kid spills a cup of fruit punch on the floor. Plus, you don’t even need to bother with the whole bucket-and-mop ordeal, since water and wood don’t really mix anyway. For day-to-day cleaning of hardwoods, all you need to have handy is a dry mop (microfiber is your friend) or vacuum cleaner to give the floors a quick once-over, plus a roll of paper towels so you can quickly clean up any spills that might occur.
While it’s really not recommended that you introduce moisture to your hardwood floors on the regular, they might start to look a little lackluster after a while of exclusively dry-mopping. The solution? Give your floors some extra love with a deep clean every couple of months. This more involved process removes stubborn debris from the crevices of the floorboards, lifts old stains and restores the attractive sheen of your finished floors.
TL;DR: Regular cleaning tackles surface dirt so your floors look and feel clean underfoot, but deep cleaning periodically actually restores floors to their former glory by banishing build-up.
What you need to deep clean hardwood floors
Before you roll up your sleeves and start deep cleaning, make sure you have all the necessary supplies handy. Here’s what you’ll need to get the job done.
- Vacuum: You’ll need this to prep your floors for deep cleaning—you know, so you don’t just end up pushing around a bunch of grit. Here are some of our favorite vacuums that are up to the job.
- Dry/Wet Mop: You can have a dry mop and a wet mop, but we strongly suggest you invest in a two-in-one spray mop that allows for both dry wipe downs with a microfiber pad and light spritzing with floor cleaner when it comes time to deep clean. We like this one from Bissell.
- Microfiber pads: Make sure you have enough spare microfiber pads for your mop to take care of business. (Hint: You’ll need more than one.)
- Putty knife: If your floors have cracks between the boards, a putty knife will help you loosen up the debris that has collected there.
- Wood floor cleaner: Although they’re fairly easy to maintain, it’s important you choose a premium cleaner (either liquid or paste) that’s made specifically for wood flooring, as generic cleaning solutions often contain chemicals that can damage the protective finish of your floors. Murphy’s Oil Soap is an excellent pick.
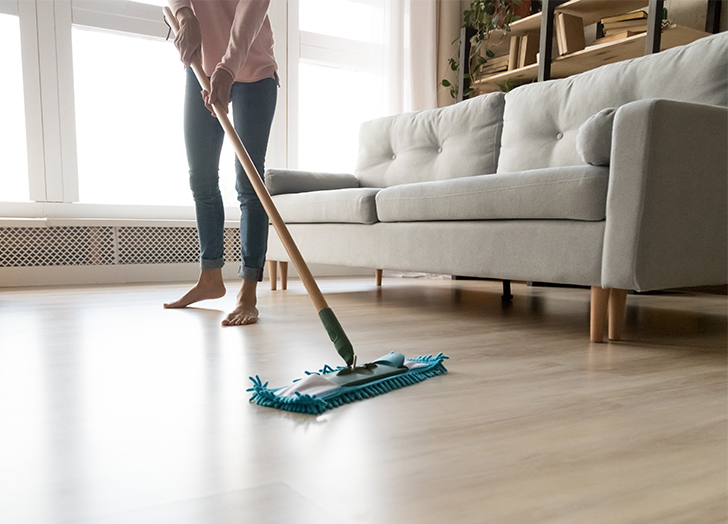
fizkes/Getty
How to deep clean hardwood floors
Spoiler: Deep cleaning hardwood floors isn’t all that different from regular cleaning. The main distinction is that the former involves use of a cleaning product. As such, the process is a lot less laborious than you’d think, and with the right tools (see note above), you don’t even have to spend any time scrubbing on your hands and knees. See below for a step-by-step guide to deep cleaning hardwood floors, courtesy of the pros at the American Cleaning Institute (ACI).
Step 1: Prep
Before you get down to deep cleaning, give your floors the standard, regular cleaning treatment. Use a vacuum cleaner with a floor attachment (consult the user’s manual to make sure your vac is safe for wood) to pick up dirt and crumbs from the floors, paying special attention to the corners of the room and other hard-to-reach spots. For floors that have deep grooves between the boards, a putty knife can be used to loosen up debris for easy vacuuming. Next, mop in the direction of the floorboards with a dry microfiber pad (it’s not time to spray just yet) to collect any fine dust and grime. Once that’s done, proceed to the next step.
Step 2: Mop
Now it’s time to bring out the big guns: Fill the container of your spray mop with a hardwood cleaning solution of your choice (more on that later). If you’re working with a microfiber mop that only has a dry setting, spray the cleaner directly onto the area of the floor you’re about to work on. Start mopping the sprayed area just as you would with the dry microfiber pad (i.e., in the direction of the floorboards) and continue spraying and mopping until you’ve worked your way across the whole room.
Word to the wise: Don’t overdo it with the spraying—a little wood floor cleaner goes a long way and, again, excess moisture is the enemy. Also, keep in mind that you will need to change the microfiber pad at least once, if not more, throughout this process. Mopping with a filthy pad won’t do you or your floors any good, so check the pad before moving on to a new section of floor and if it’s looking gray and gross, swap it for a fresh one.
Step 3: Dry
If you did this right, you won’t need to dry the floors after mopping. However, if you think you might’ve gotten a little trigger happy and the floors feel damp when you’re done, it’s a good idea to go over the area once more with a dry microfiber pad.
Step 4: Polish
This step is optional, since deep cleaning alone should leave your floors looking pretty spiffy—but if you want to go the extra mile and really make your hardwoods gleam, then by all means, reach for the polish (like this one from Bona). Just be sure to carefully read the manufacturer’s guidelines on any given floor polish to ensure it’s safe to use on the particular finish of your hardwood.
How to spot treat stains on hardwood floors
If your floors are still sporting some spots and stains after the deep cleaning work is complete, you’ll need a more targeted treatment. For this, the ACI recommends you use one of two spot cleaning methods, both of which are safe for hardwood, depending on the finish.
- Wax and steel wool. Floors with a softer finish are more likely to develop stains and spots that have penetrated to the wood. In this case, the best remedy is to dip fine steel wool into floor wax and gently rub into the problem area. This versatile spot cleaning method works well for everything from dark stains to heel marks—but definitely don’t try it unless you know the finish of your floor, as steel wool will damage floors that have a urethane finish.
- Baking soda. This spot cleaning method is safe for floors with urethane finishes, which are the most popular floor finishes and the most stain-resistant. Still, if your deep cleaning didn’t involve a ton of elbow grease, some evidence of past spills might still be present on the surface of the finish. The ACI suggests you remove these spots with a paste of baking soda and water. Prepare the paste with just enough water to achieve a thick and slightly gritty consistency, apply it to the stain and gently rub the paste into the problem area with a soft microfiber cloth. Let the paste hang out for 10 to 15 minutes so the baking soda has had a chance to do its work, and then wipe it away with a damp cloth and dry the spot.
The best wood floor cleaner
We touched on this earlier, but you cannot use any old cleaner for your hardwood floors. Per the ACI, the harsh chemicals in generic cleaners can do permanent damage to the finish of hardwood flooring. To avoid this scenario, stick with a product intended for the purpose, like Murphy’s Oil Soap, a nice-smelling cleaner that gives floors an attractive sheen, or Zep, a heavy-duty option that all but eliminates the need for any follow-up spot treatment.