Finally: This is the summer you nailed grilled, impeccably seasoned steak. Props to you, but what about when the weather gets cold again and you’re craving a medium-rare filet? Don’t be intimidated. It turns out you don’t need to use the grill—or stove, for that matter—to pull it off. Here’s how to cook steak in the oven only. (I promise it’s easier than you think.)
How to Cook Steak in the Oven Only
Not tonight, stove

•
Published Jul 17, 2024

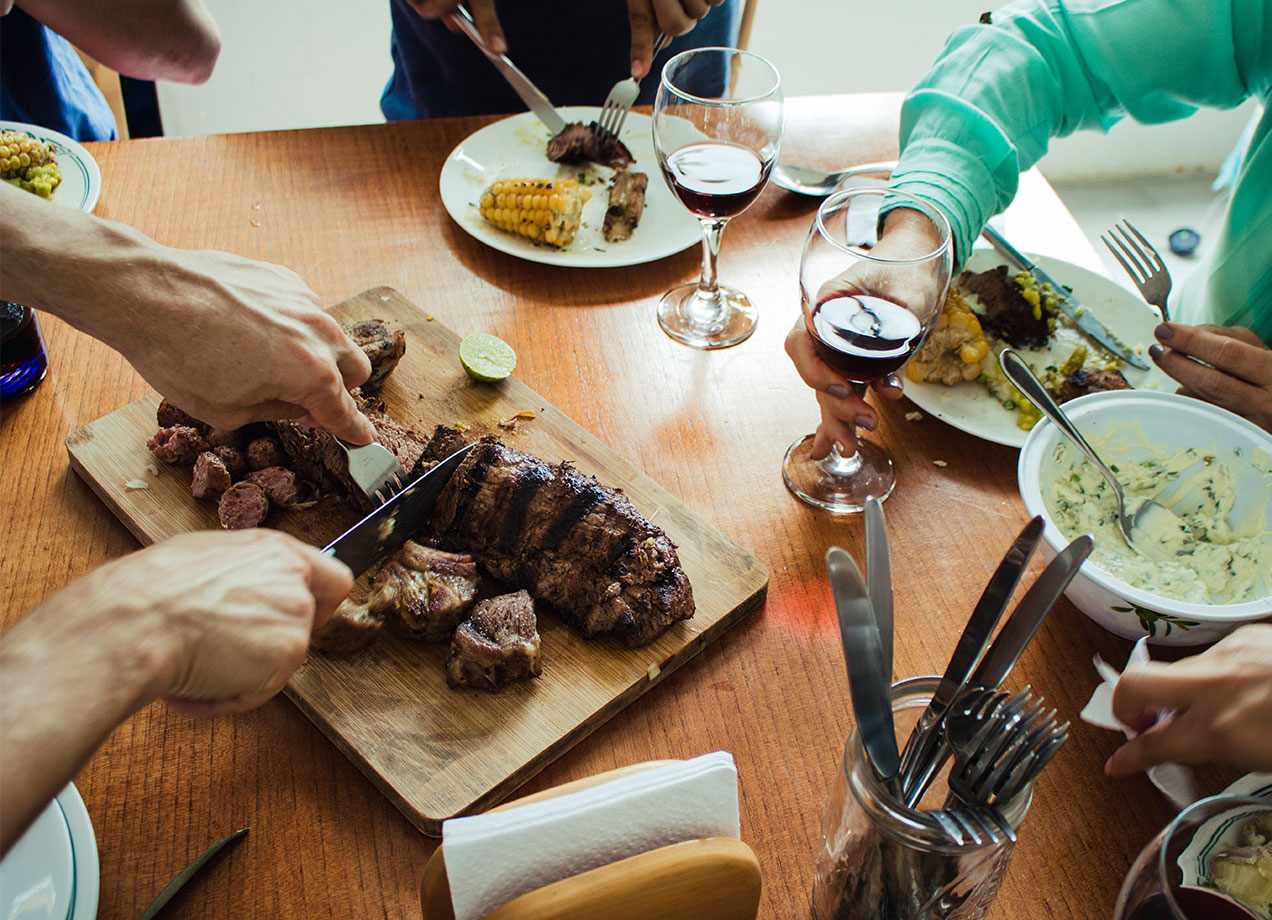
Claudia Totir/Getty Images
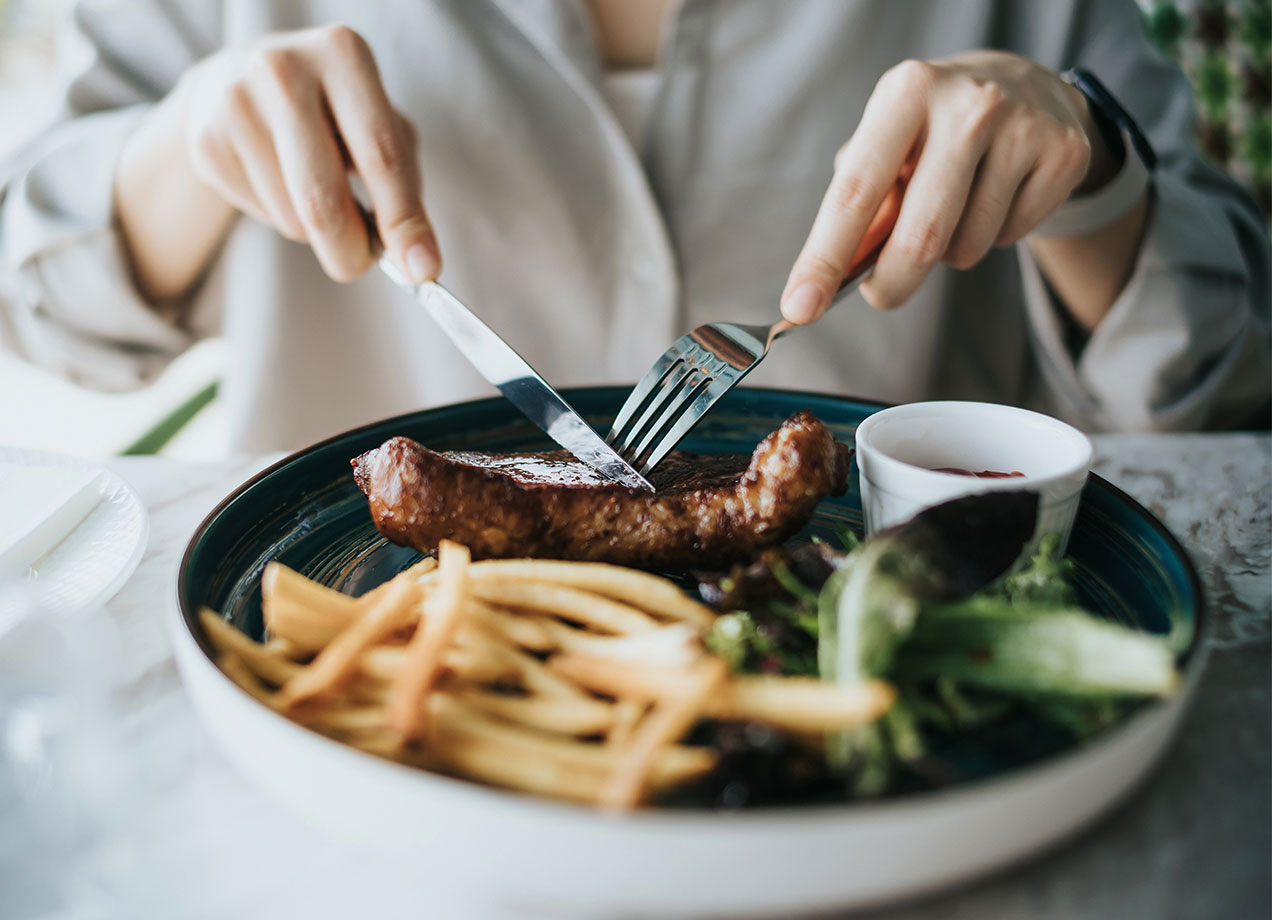
SolStock/Getty Images
Why Would You Cook Steak in the Oven?
Cooking steak in the oven allows the meat to cook evenly on all sides instead of one side at a time. You can more efficiently and accurately control the oven's temperature than a pan on the stove or a grill. Many ovens also have a broiler, which can help you get the crisp, caramelized exterior you crave.
How Long Does It Take to Cook Steak in the Oven?
It depends on the size and cut of the steak and the temperature of the oven. Generally speaking, it could take anywhere from five to 30 minutes.
What You’ll Need
Here are the basics you’ll need to cook a killer cut of beef in the oven or under the broiler:
- A skillet (ideally cast-iron) for thick steak or a baking sheet for thinner cuts
- Oil or butter
- Kosher salt and freshly cracked black pepper
- Meat thermometer
If you don’t have a meat thermometer, you’re so not alone. Before you prematurely cut the steak to check its doneness and lose its tasty juices (seriously, don’t do that!), consider these alternatives. You can watch the clock (many like using Omaha Steaks’ cooking charts, which break cooking times down by steak thickness, cooking method and desired doneness) or rely on the age-old touch test.
This involves using your hand to check how cooked through the steak is. Rare steak will feel wobbly, soft and a little squishy when pressed with your index finger. Medium steak feels firm yet springy and will give a little under your finger. When steak is well-done, it’ll feel totally firm.
Still confused? Use the fleshy area under your thumb on one hand as a gauge for doneness. The way the fleshy area feels when your palm is open and relaxed is comparable to the feel of rare steak. Bring your thumb and index finger together and that fleshy part of your hand l will get a little firmer—that’s what medium-rare steak feels like. Touch your middle finger and thumb together for the feeling of medium steak. Use your ring finger and thumb to test for medium-well and your pinky for well done. (This blog post offers a photo breakdown of what I mean.) Handy, huh?
How Do Different Cuts of Steak Impact Cooking Time?
Thicker steaks and bone-in steaks will take longer to cook than thin, boneless steaks. Also, tender cuts (like tenderloin and fillet) require less cooking because they dry out easier. Tougher cuts from the shoulder, breast or belly have more connective tissue and collagen, so they take longer to cook down and tenderize.
How to Cook a Thin Steak in the Oven Only
d3sign/Getty Images
When it comes to thin cuts of meat, like skirt or flank steak, the broiler is your best bet. Because it gets so hot, thin steaks don’t even need to be deliberately seared to develop a crusty char on both sides. It’ll also only take you a few minutes; if you like your steak rare, you’ll essentially only be cooking the outside of the steak to prevent the inside from rapidly becoming gray and chewy on the inside. Here’s what to do:
Step 1: Preheat the Broiler
While it’s preheating, take the steak out of the fridge and let it come down to room temperature for 30 to 45 minutes. This will help the steak cook evenly later on.
Step 2: Season the Steak
Place the steak on a foil-lined baking sheet or pan and pat it dry before seasoning. The simplest combo is olive oil, salt and pepper, but feel free to add herbs and spices if you feel so inclined.
Step 3: Place the Steak in the Oven
Once the broiler is hot, place the pan under the broiler as close to the heating element as possible, or no further than four inches below it. After about 5 to 6 minutes, flip the steak over and let it continue cooking.
Step 4: Remove the Steak from the Oven
The best time to remove the steak is when it’s about five degrees less than the internal temperature of your desired doneness: 120° to 130°F for rare, 140° to 150°F for medium or 160° to 170°F for well done. If you don’t have a meat thermometer, remove the steak after 3 or 4 minutes if you like it rare or 5 minutes if you prefer medium. You can also lean on the touch test in a pinch.
Step 5: Rest the Steak
Place the steak on a cutting board, plate or serving platter. Let it rest for 5 to 10 minutes before serving or slicing against the grain. Cutting it too soon will result in chewy, tough meat. Letting it sit allows its juices to redistribute, making for a super flavorful steak.
How to Cook a Thick Steak in the Oven Only
JGI/Jamie Grill/Getty Images
In my opinion, come date night, a visit from the in-laws or any fancy dinner party, thick cuts are the easiest way to look like a real gourmand in front of guests. Think ribeye, porterhouse, filet mignon and the like. Since you’re likely spending a bit more on these cuts at the grocery store, you’ll want to make sure you don’t overcook all those extra dollars.
Step 1: Preheat the Oven to 400°F
While it’s preheating, take the steak out of the fridge and let it come down to room temperature for 30 to 45 minutes. This will help it cook evenly.
Step 2: Preheat the Skillet
Place the skillet you’re going to cook with in the oven while it preheats so it gets hot. This is the key to getting a nice, crusty sear on both sides of a thick steak without having to turn on the stove.
Step 3: Season the Steak
Pat it dry first. The simplest combo is olive oil, salt and pepper, but feel free to add more herbs and spices.
Step 4: Sear the Steak
Once the oven is heated and the steak is at room temperature, it’s time to sear. Carefully remove the skillet from the oven and add the steak to it. Let it sear until the bottom is dark and charred, about 2 to 3 minutes.
Step 5: Flip the Steak
Flip the steak over to sear the other side. Return the skillet to the oven. Feel free to top the steak with a pat or two of butter.
Step 6: Remove the Steak from the Oven
The best time to remove the steak is when it’s about five degrees less than the internal temperature of your desired doneness: 120°-130°F for rare, 140°-150°F for medium or 160°-170°F for well done (if you insist). If you don’t have a meat thermometer, remove it after 9 to 11 minutes if you like your steak rare, 13 to 16 minutes for medium or 20 to 24 minutes for well done, assuming your steak is 1½ inches thick. It’ll take a few minutes longer if your steak is thicker (see this cheat sheet for help). You can also use the aforementioned touch test.
Step 7: Rest the Steak
Place the steak on a cutting board, plate or serving platter. Let it rest for 5 to 10 minutes before serving or slicing against the grain, so it doesn’t get too chewy or tough. Letting it sit allows its juices to redistribute, making for a super flavorful steak.
Note: If you're cooking a steak 1½ to 2 inches thick or a fatty steak, like ribeye or wagyu beef, the reverse-sear method works best. Because it brings the meat's temperature up slowly by roasting it in the oven prior to searing, you have total control over the temperature and doneness of the meat. Finishing with a pan-sear creates a drool-worthy charred crust to boot.
How Do You Cook a Steak in the Oven without a Skillet?
On a baking sheet or in a baking dish. This method works best for thin cuts. Assuming you're using a small enough cut, you can easily pop the sheet pan under the broiler and cook it for about 5 minutes per side for medium-rare.
Ready to Cook? Here Are 7 Steak Recipes to Prep in the Oven, on the Grill and Beyond: