home/ Candace Davison
Home
The best furniture, decor and cleaning tips, all to make your house or apartment feel like a home
Editors' Picks
 Magnolia Home/PureWow
Joanna Gaines Just Dropped the Spring Decor That Will Define 2026, and You Need to See It
 Stephanie Maida for PureWow
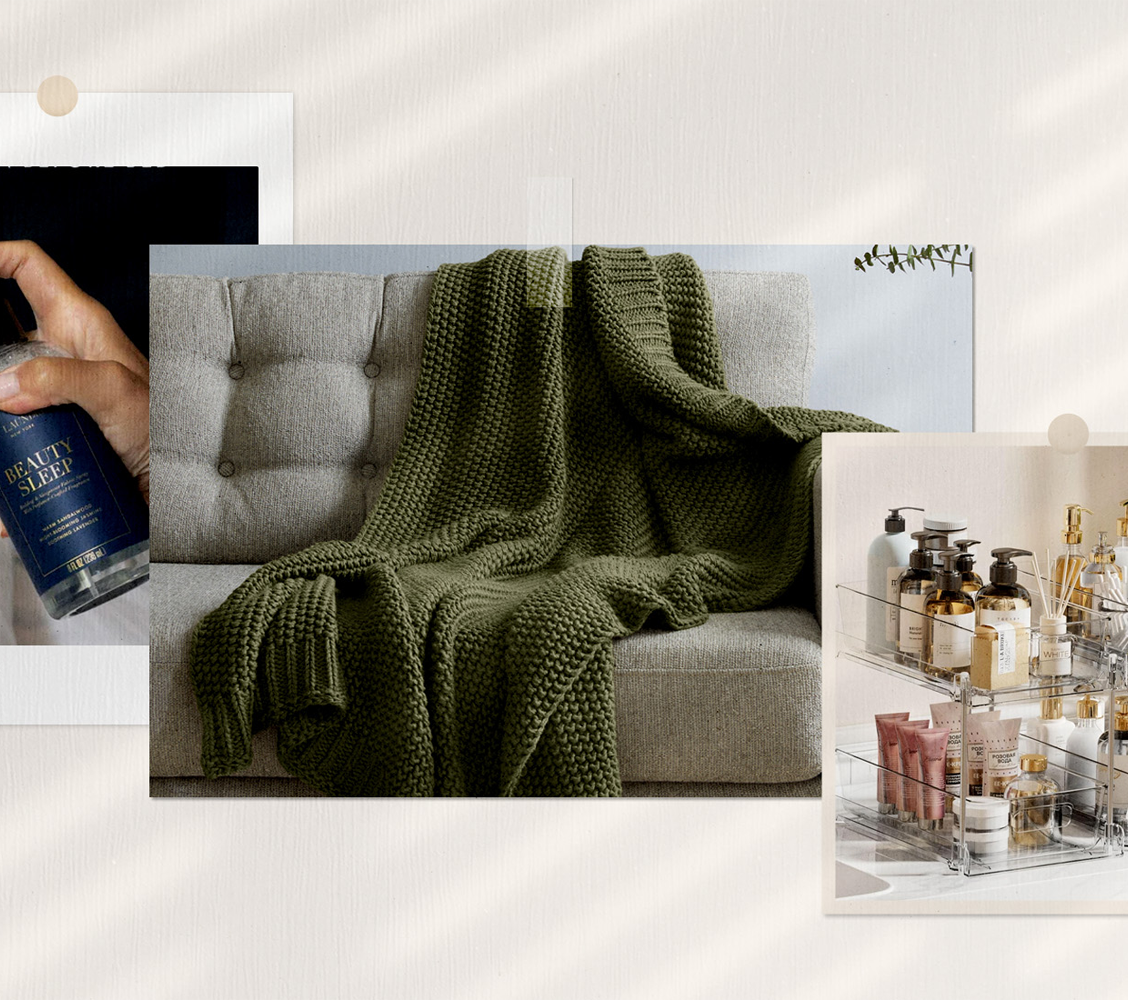
12 Items to Give Your Home the Refresh It Deserves for 2026
 Amazon/Mellanni Fine Linens
4 Years Later, These $30 Mellanni Sheets Are Some of the Best I've Ever Owned
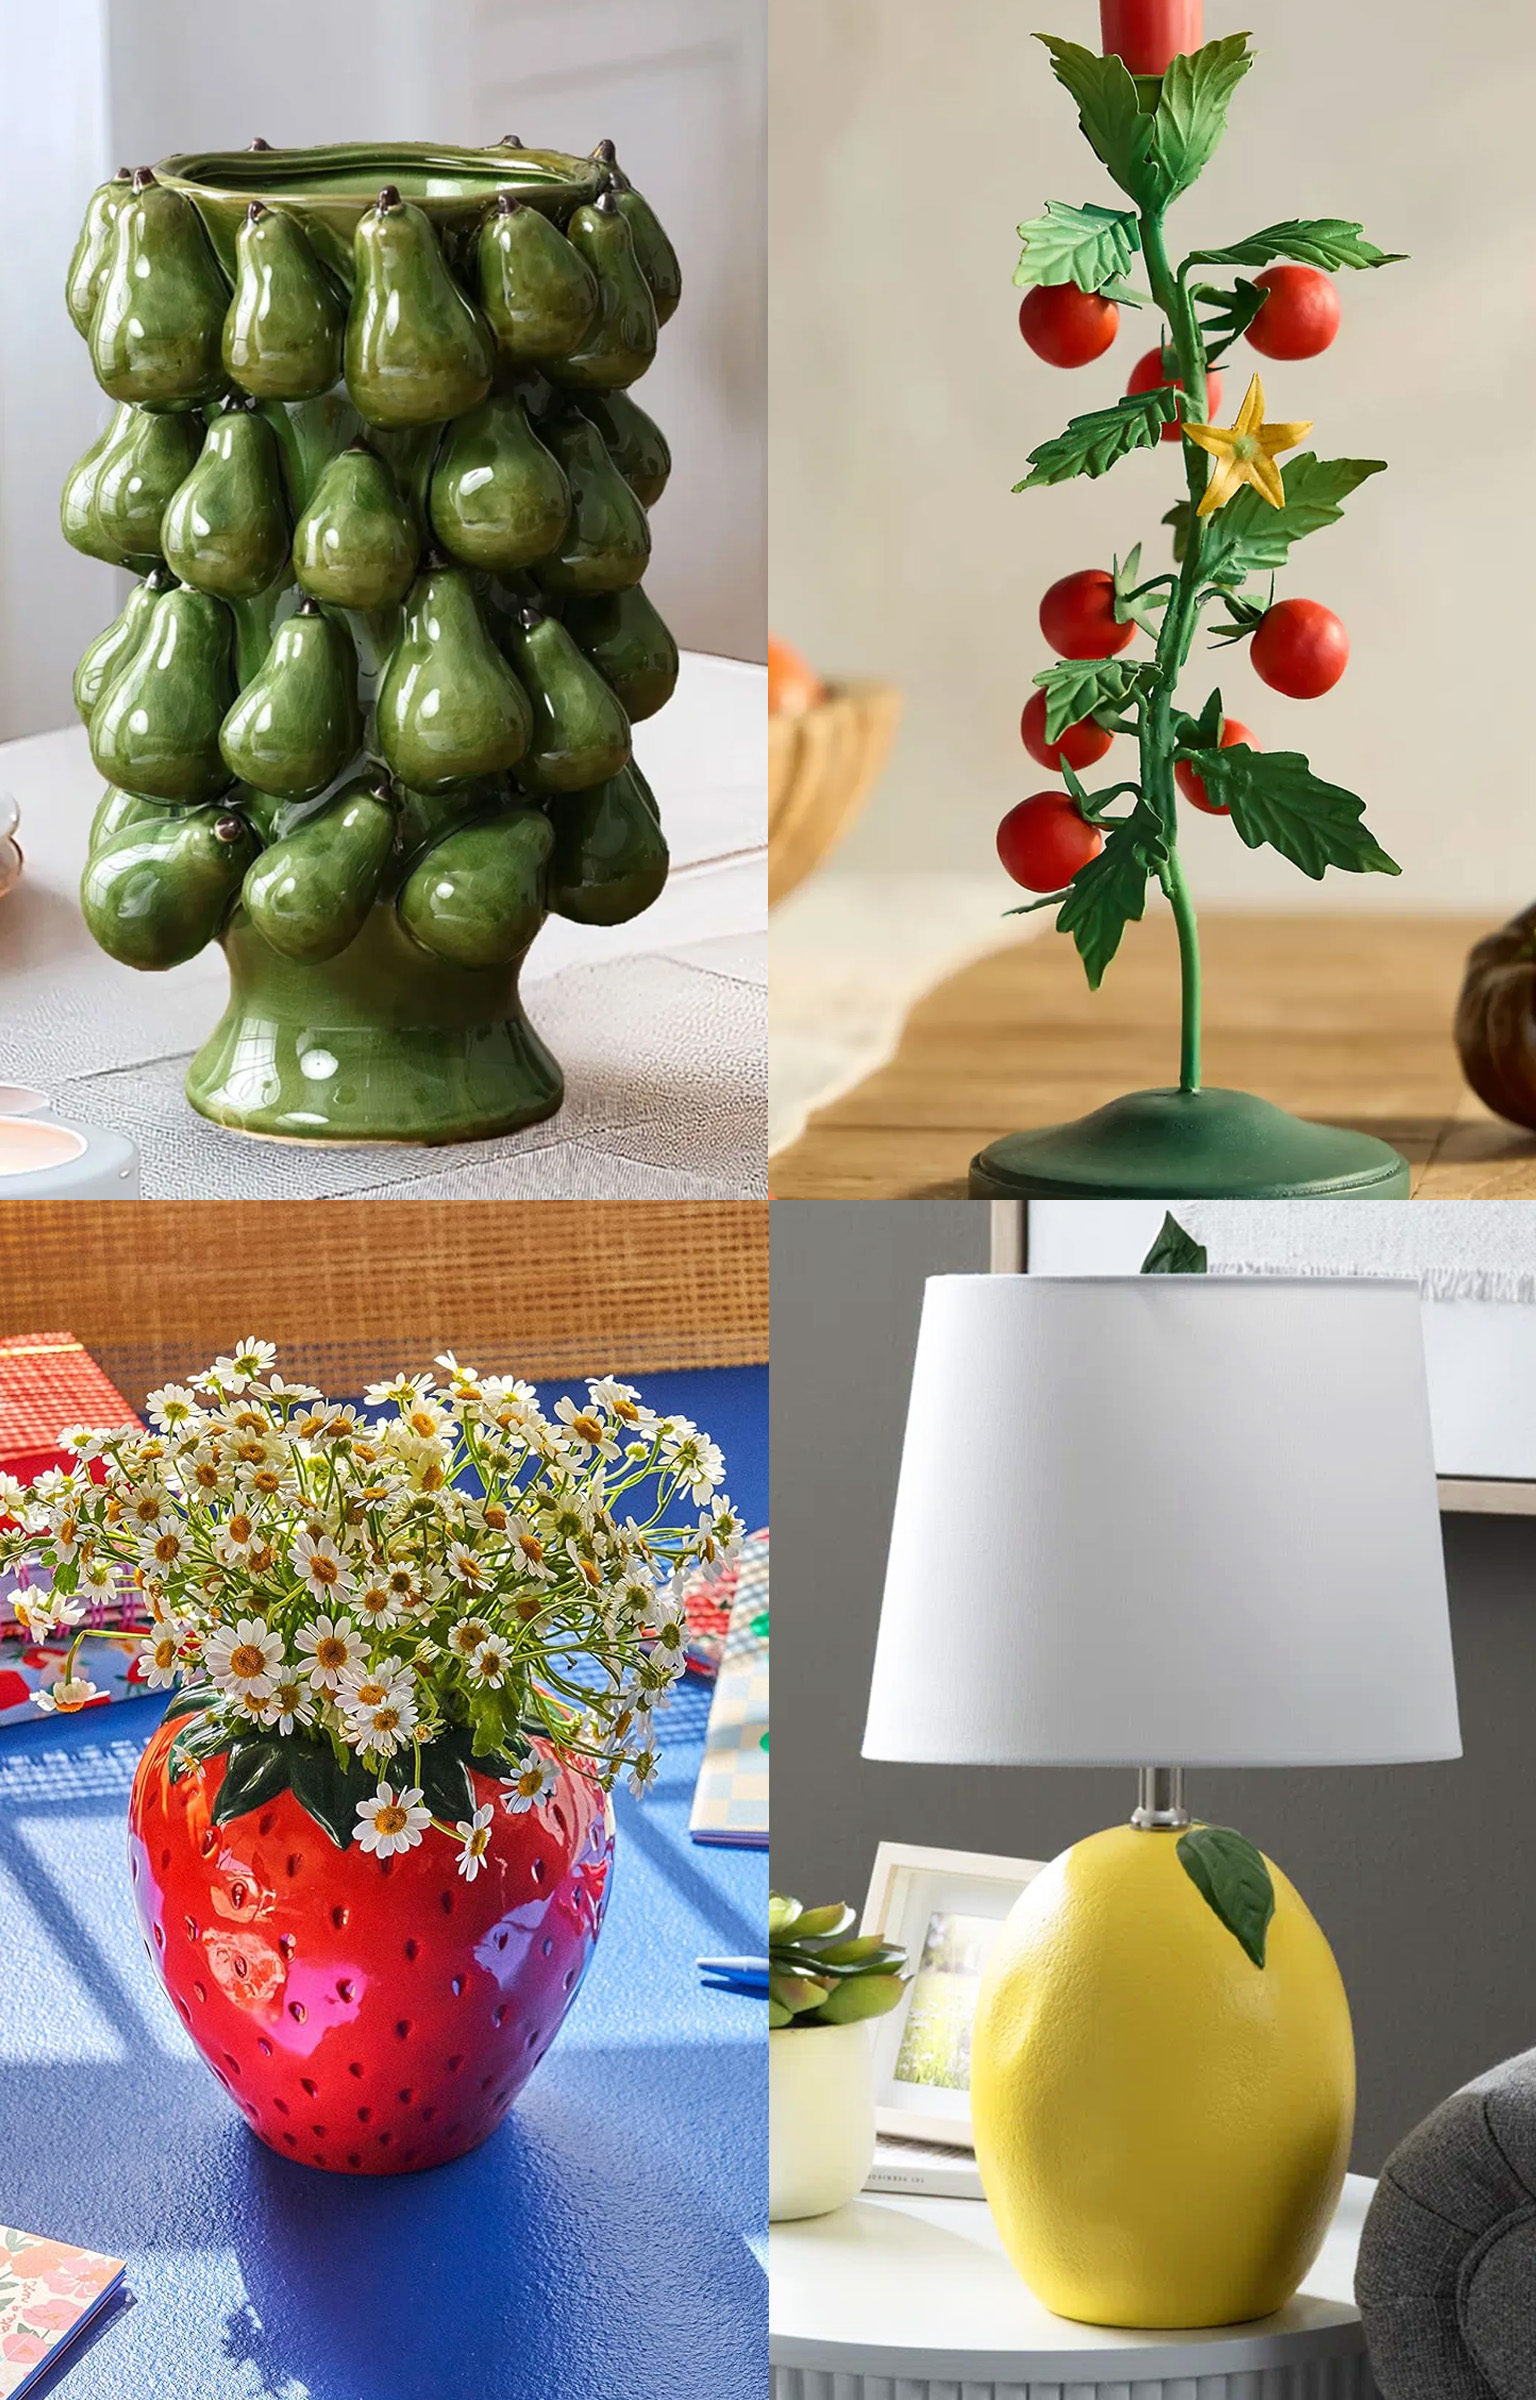
Forget the Color of the Year—The Flower & Plant of the Year Are Way More Exciting
My Overnight Guests Can’t Stop Fighting Over My Burrow Span Sleeper Sofa
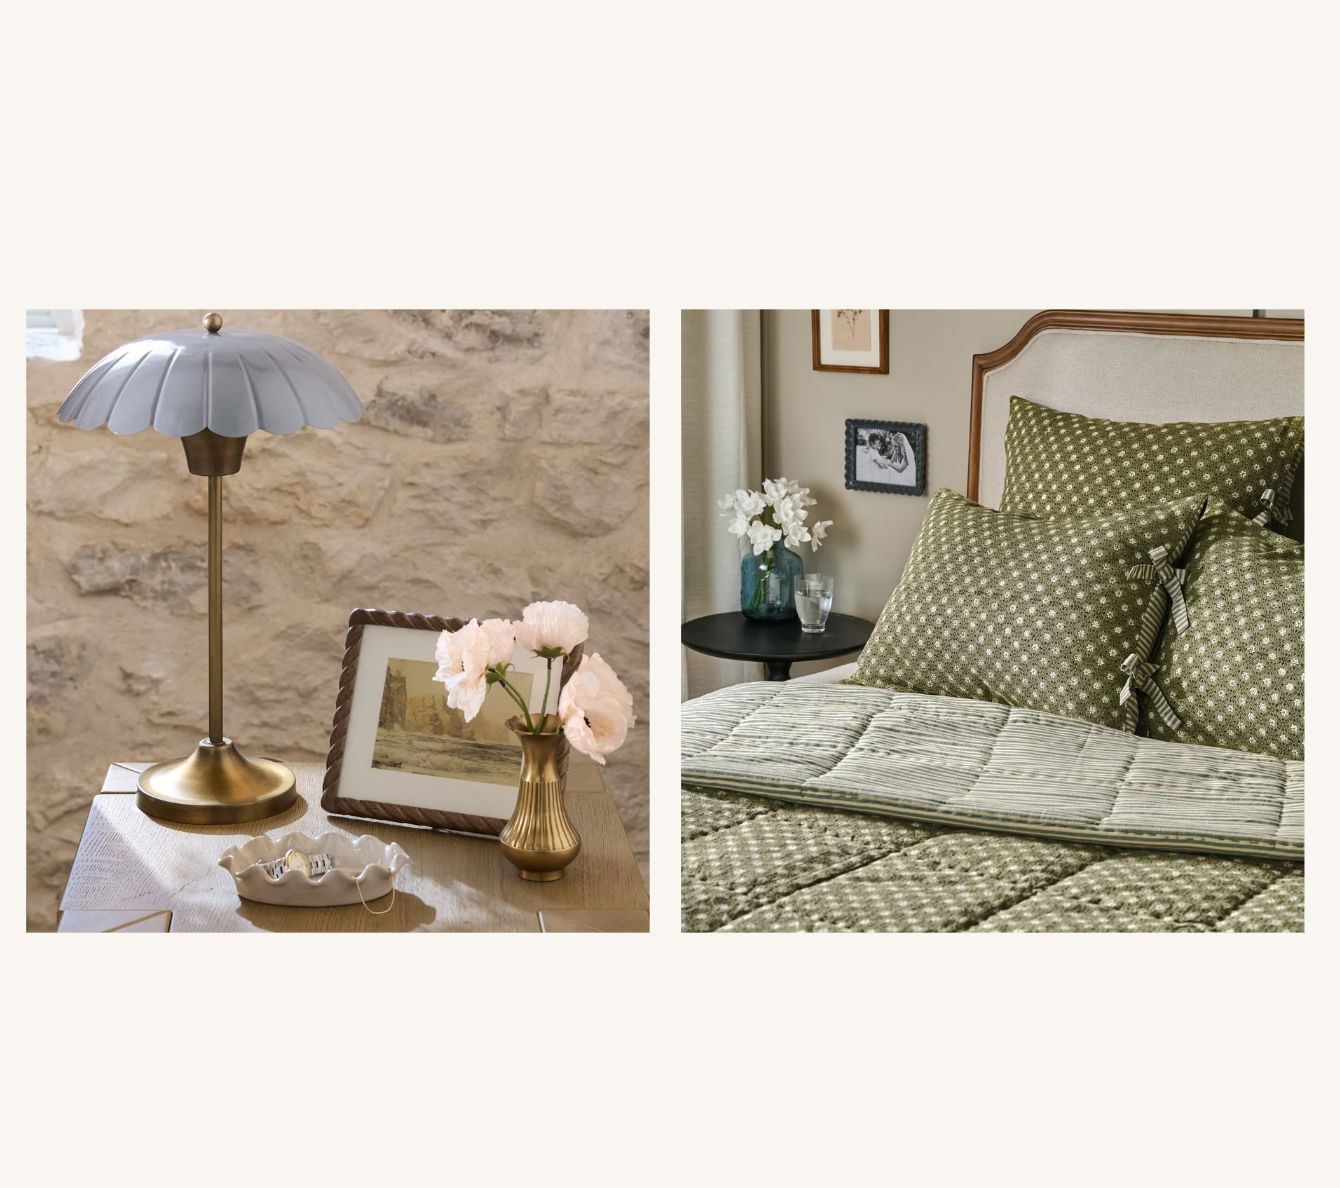
Step Aside, Emerald—Meet The New Greens of 2026
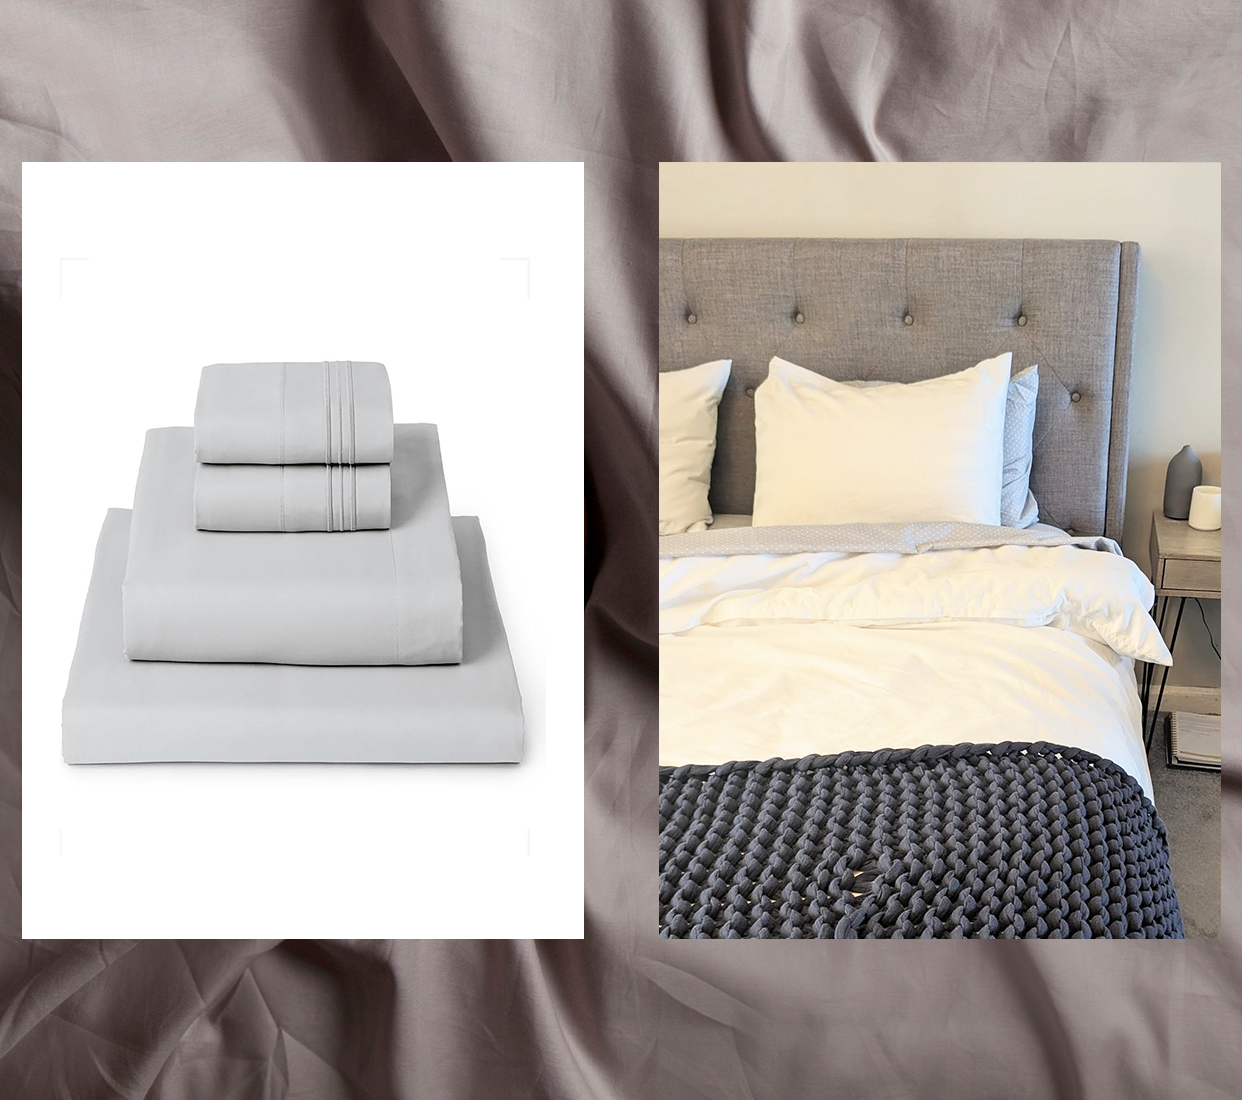
Upgrade Your Bedroom
Smart finds to improve your space (and sleep)
Most Popular
1.
2.
3.
home/ Sydney Meister
20 Stores Like Pottery Barn That You Should Definitely Have on Your Radar
4.
5.
home/ Candace Davison
The 7 Kitchen Trends That Will Define 2026
Lulu & Georgia/Anthropologie/Shoppe Amber Interiors
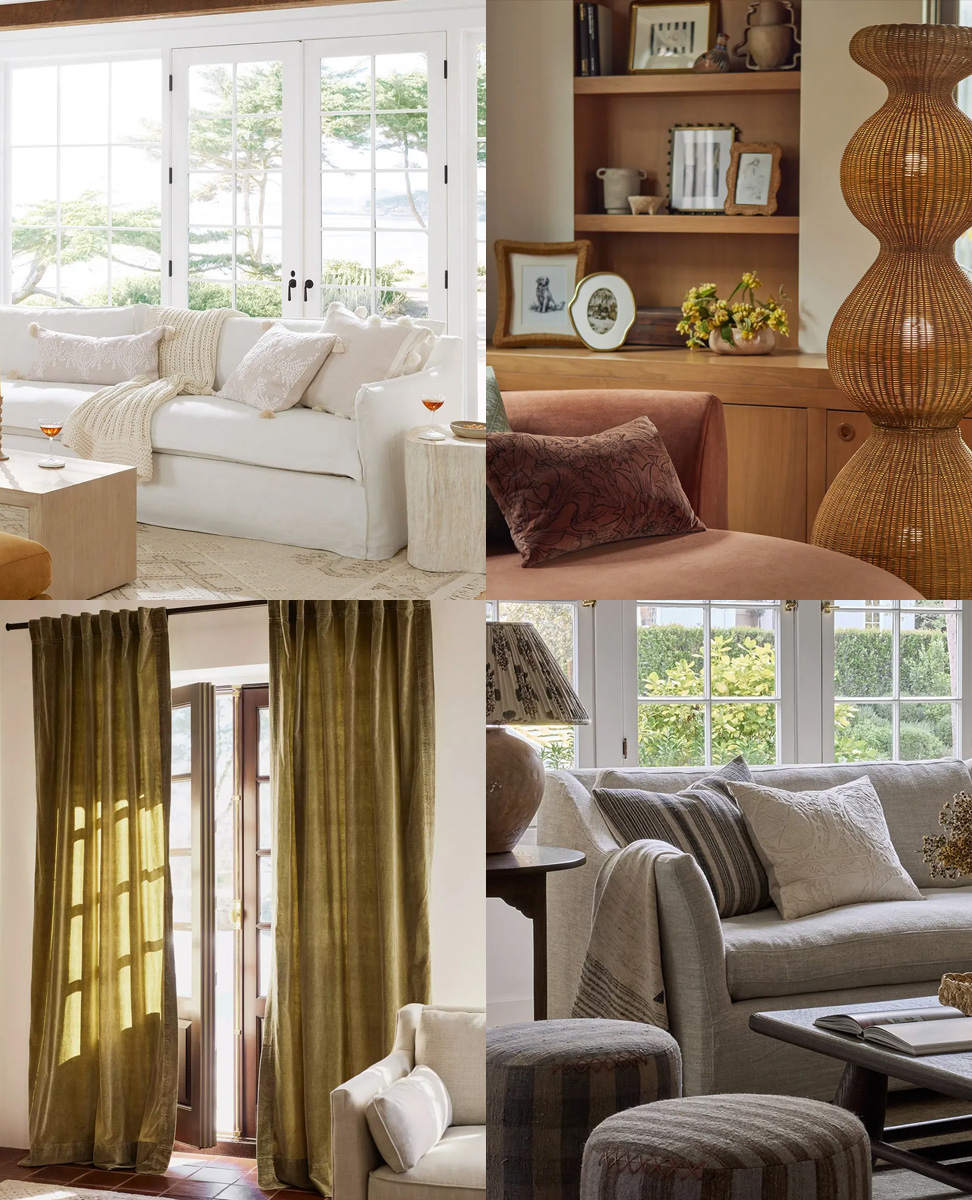
home / Sydney Meister
The 5 Rules of Decorating a Living Room in 2026 (Don’t Worry—They’ll Still Hold Up in 2030)
No remodels required