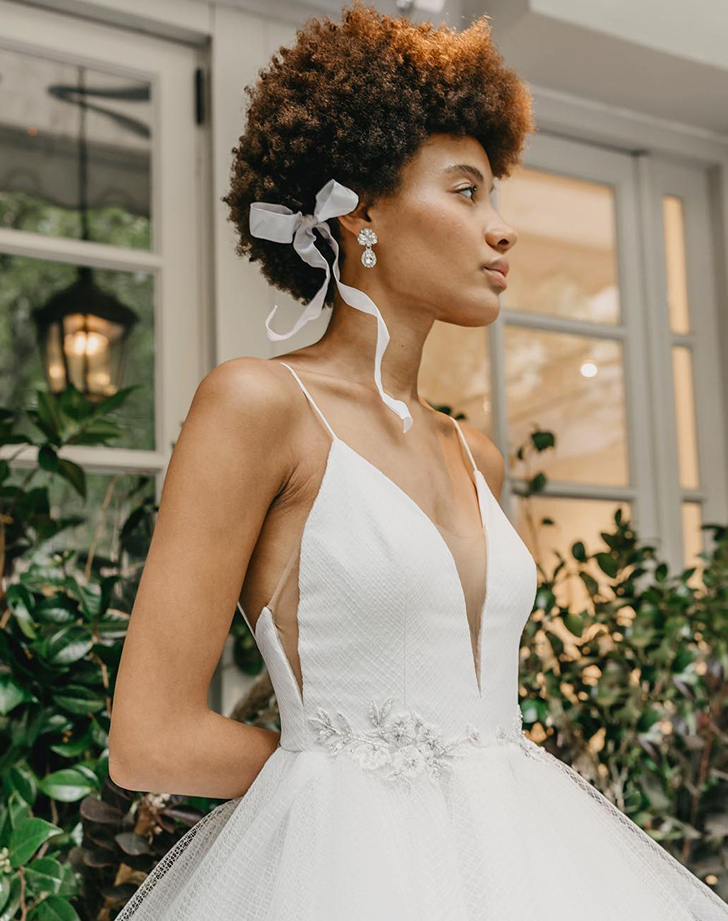
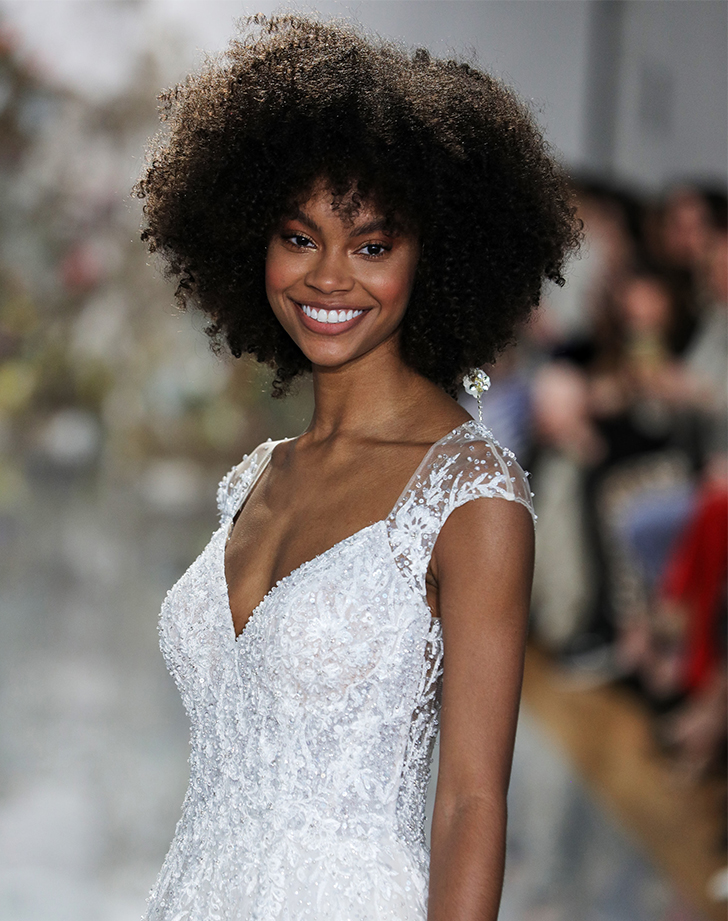
So you decided to forgo getting your makeup done on the big day and do your own. Bravo. But how do you make sure that your wedding day makeup looks as good in real life as it does in photos? And how do you keep it looking fresh through the night? Pro makeup artist and bridal beauty expert Karla Duarte guides us through the best products and practices.
A Step-by-Step Guide to Natural-Looking Makeup for Your Wedding Day

•
Published May 13, 2019
Step 1: Prep
Proper care is key. More specifically, you want to make sure your skin is well-hydrated before you apply any makeup. "The night before, I always recommend using a mask to smooth any dry spots and plump up your skin," says Duarte. In the morning, wash your face and take a few extra minutes to massage moisturizer into your skin.
For normal to dry skin: Tatcha Dewy Skin Cream ($68); for oily to combination skin: Tatcha’s Water Cream ($68)
Step 2: Base
Next, it’s prime time. Even if you don’t normally use a primer, make an exception for your wedding day. "A good primer will create a smooth, even surface for the rest of your makeup and prolong the longevity," explains Duarte.
For normal to dry skin: Milk Makeup Hydro-Grip Primer ($30); for oily to combination skin: Hourglass Veil Mineral Primer ($54)
Step 3: Foundation
For the most natural finish, Duarte recommends a lighter liquid formula for overall coverage. (You can always supplement with concealer and setting powder later.) For the application, start in the center of your face (in the T-zone) and work your way out toward the perimeters (along your temples, hairline and jawline). She also uses a fluffy synthetic brush to apply the foundation and a damp sponge to blend everything in. And a final note: Don’t forget to bring some foundation down your neck and décolletage as well as, the tops of your ears (which tend to get red easily).
For normal to dry skin: Armani Luminous Silk Foundation ($64); for oily to combination skin: Dior Diorskin Airflash Spray Foundation ($62)
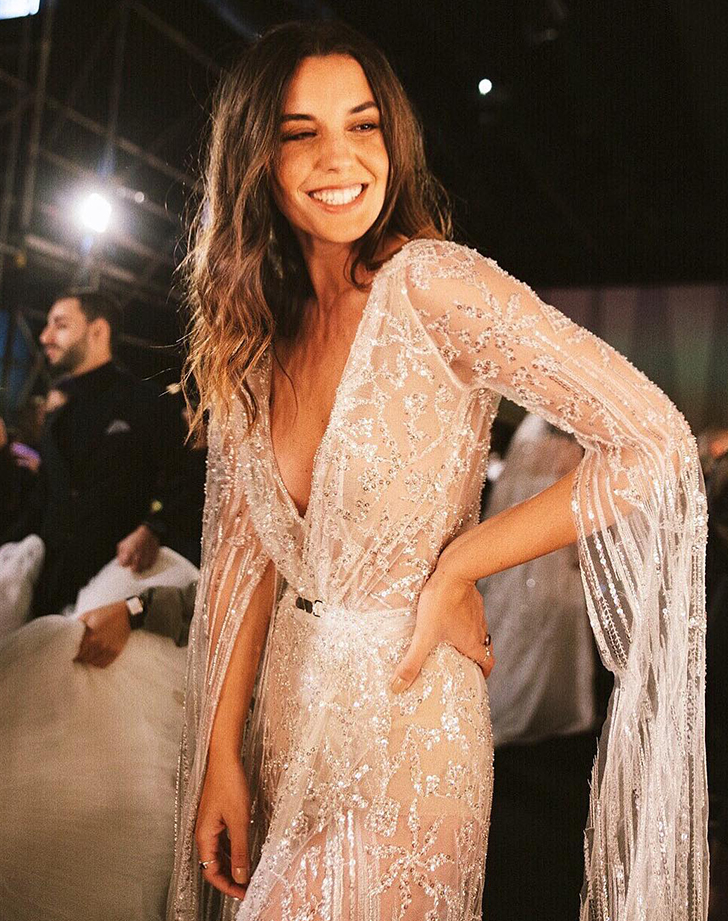
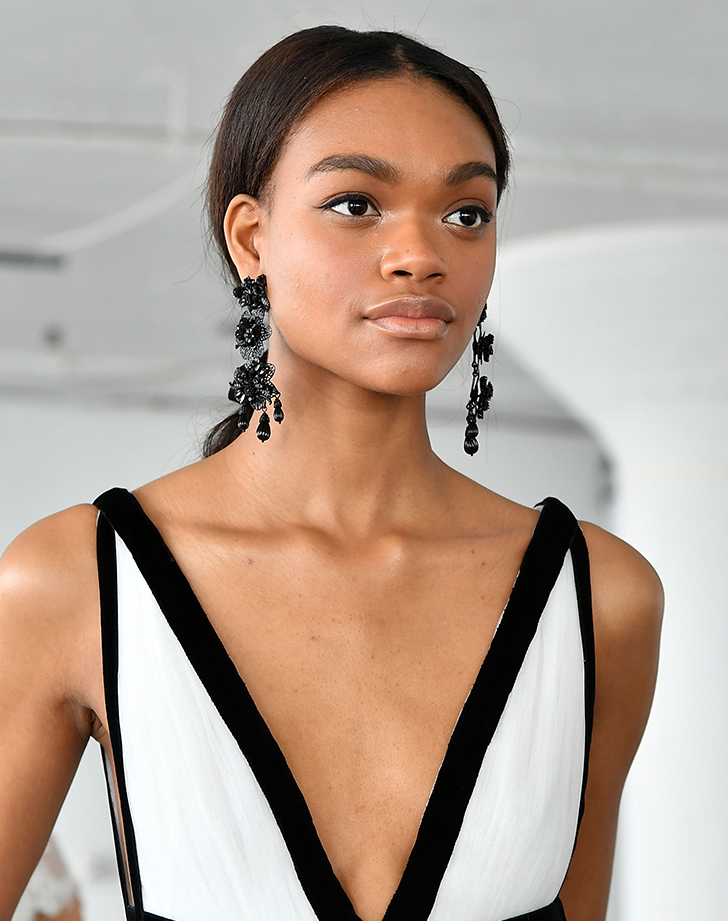
Thomas Concordia/Getty Images
Step 4: Conceal
You know those tutorials where people draw giant triangles of concealer onto their faces? Maybe don’t do that on your wedding day. Only apply it where you need it—which for most people is under the eyes, under the nose and over any blemishes. As for tools: "A small dome brush is easiest to maneuver in these areas and, again, I always buff out the edges using a sponge," says Duarte.
For normal to dry skin: Armani Power Fabric Stretchable Concealer ($34); for oily to combination skin: Tarte Shape Tape Concealer ($27)
Step 5: Contour
"I prefer using a cream or liquid for contouring because it gives a subtler finish," says Duarte. Don’t go more than two shades deeper than your natural skin tone and apply it in a figure "3" from your hairline to your cheekbones and ending at your jawline. "I also like to add a little contour on either side of the nose to give it more definition." Blend, blend and then blend some more.
Get the look: Real Techniques Setting Brush ($8); Charlotte Tilbury Hollywood Contour Wand ($38)
Thomas Concordia/Getty Images
Step 6: Blush
For a photogenic flush that won't get washed out from flashbulbs (or fade throughout the night), Duarte layers a cream blush and a powder blush in a similar shade on top. Apply the color just over the apples of the cheeks and a little bit higher on the cheekbones to create a lifting effect.
Get the look: Makeup Forever Ultra HD Blush ($26)
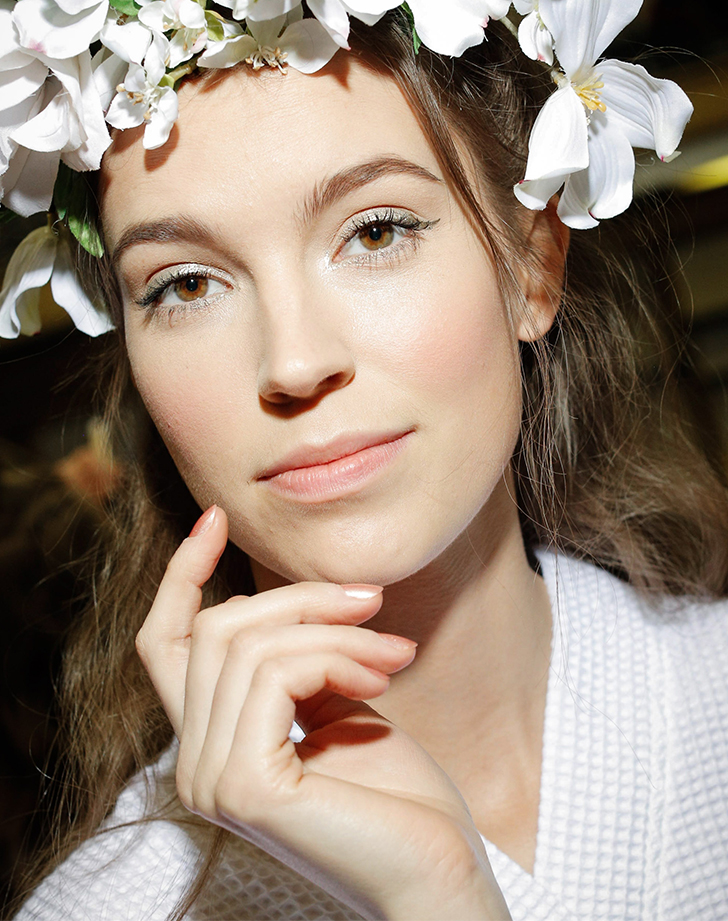
Step 7: Highlight
"My favorite highlighters for brides are cream formulas. They create a nice sheen on your skin rather than leave behind a glittery finish. Plus, you can easily use your fingertips to dab it onto the high points of your face: the tops of your cheekbones, on your Cupid’s bow, along your brow bones and down the bridge of your nose," explains Duarte. For extra glow, layer a second highlighter over just your cheekbones.
For any skin: Charlotte Tilbury Hollywood Beauty Light Wand ($38); BECCA Skin Love Glow Glaze Stick ($28)
Thomas Concordia/Getty Images
Step 8: Eyes
"Perhaps more than any other step, eye makeup is a personal preference. Some people like a very dramatic look, where others just want a little cat eye. Overall, I find that most brides like a soft, smoky look in neutral tones," says Duarte. This can be achieved in three steps:
- Eye shadow: Add a wash of champagne or light pink shadow all over the lid. Then, apply a soft brown matte shade along the crease to help define your eyes and a deeper brown shadow along the lash line. Finish with a pop of shimmer right in the center of your lid (which will catch the light whenever you blink and in photos).
- Eyeliner: "I like to layer a dark brown pencil with a black one to create a contrast on top and a nude or shimmery bronze in the waterline to make eyes appear bigger."
- Eyelashes: Last, but not least, apply individual clusters of false lashes to the outer thirds of your eyes to really open them up. Then, seal everything in with a waterproof mascara.
Get the look: Tom Ford Eye Color Quad in “Cocoa Mirage” and “Nude Dip” ($88); Hourglass Scattered Light Glitter Eye Shadow ($29); Marc Jacobs Highlner in “Brownie,” “Blacquer” and “Rococoa” ($25); Tarte Fake Awake Eye Highlight ($20); Kiss Lashes ($7); Lancome Monsieur Big Waterproof Mascara ($25)
Slaven Vlasic/Getty Images
Step 9: Brows
"The goal is a feathered, natural brow," says Duarte. Start off by brushing the brows up in order to get a better idea what needs to be filled in. Then, go in with a pencil to draw in individual hair-like strokes. Once that’s done, set everything in place with a clear brow gel, and if you want further definition, outline them with a little concealer to clean up the edges.
Get the look: Mac Shape + Shade Brow Tint ($22); Diorshow Brow Styler ($29); Anastasia Beverly Hills Clear Brow Gel ($22)
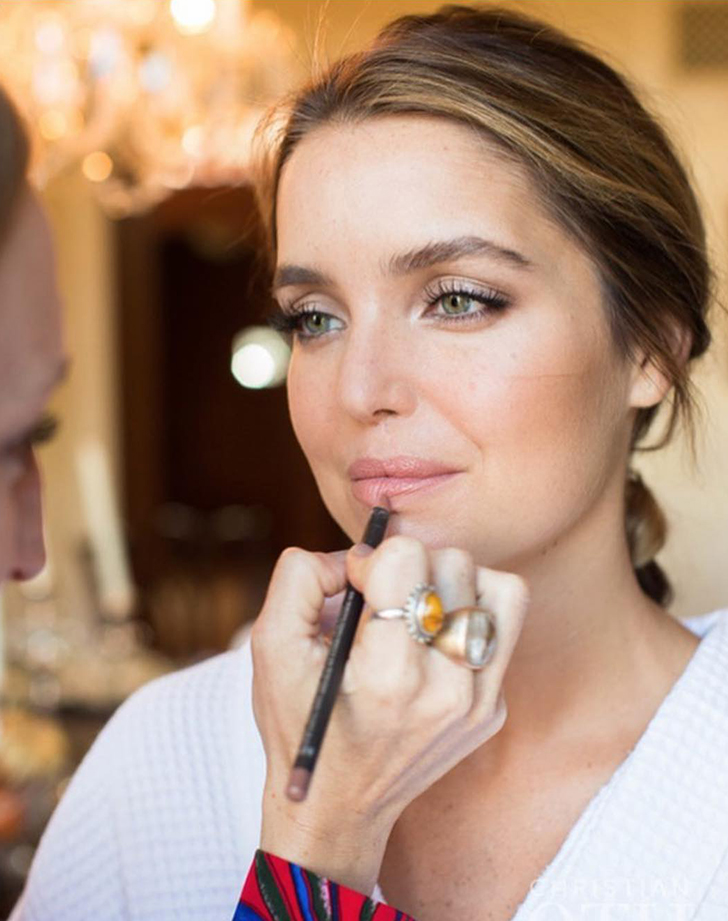
Step 10: Lips
It’s all about balance when it comes to your lips. You want a shade that will brighten up your face without overpowering the rest of your makeup (unless you’re intentionally going for a bold lip). Duarte recommends prepping your lips with a thick balm or treatment first. Let it sink in for a few minutes, blot and use a flesh-toned pencil to line your pout. Next comes lipstick and—the finishing touch—a little gloss in the center of your bottom lip.
Get the look: Laneige Lip Sleeping Mask ($14); Charlotte Tilbury Lip Cheat Lip Liner in "Pillow Talk" ($22); NARS Velvet Matte Lipstick in "Bad Girl, "Take Me Home" and "Good Times" ($27); Marc Jacobs Enamored High Shine Lip Lacquer in "Skin Deep" and "Love Drunk" ($28)
Step 11: Set
"For most brides, I would only set your makeup along the T-zone and on the sides of your nose. And if you’re really oily, add a touch between the brows, under the eyes and around the mouth. Whatever you do, leave the edges of your face (aka wherever you applied highlighter) alone so you keep that glowing finish," advises Duarte. Finish with a list misting of setting spray to lock all of your makeup in place for the night.
For normal to dry skin: Hourglass Veil Translucent Setting Powder ($46); for oily to combination skin: Huda Beauty Easy Bake Setting Powder ($34); Skindinavia Bridal Setting Spray ($26)
Step 12: Extra Credit
And the final step? A light layer of shimmery lotion on the tops of your shoulders, on your arms, décolletage and collar bones. Just make sure to give yourself a few minutes to let everything dry before slipping into your dress.
Get the look: Charlotte Tilbury Supermodel Body ($65)