We love painting our nails in a chic new shade, but there’s no denying that press-ons make things so much easier when we’re in a time crunch. Whether you’re looking for an affordable option (minus the hassle of heading to a nail salon) or you need a last-minute fix before an event, press-on nails are the way to go. The only real downside to wearing them is when they suddenly pop off on you. To help troubleshoot this issue, we reached out to Ann McFerran, CEO and co-founder of Glamnetic, for her top tips for making press-on nails last longer.
1. Buy higher-quality nails
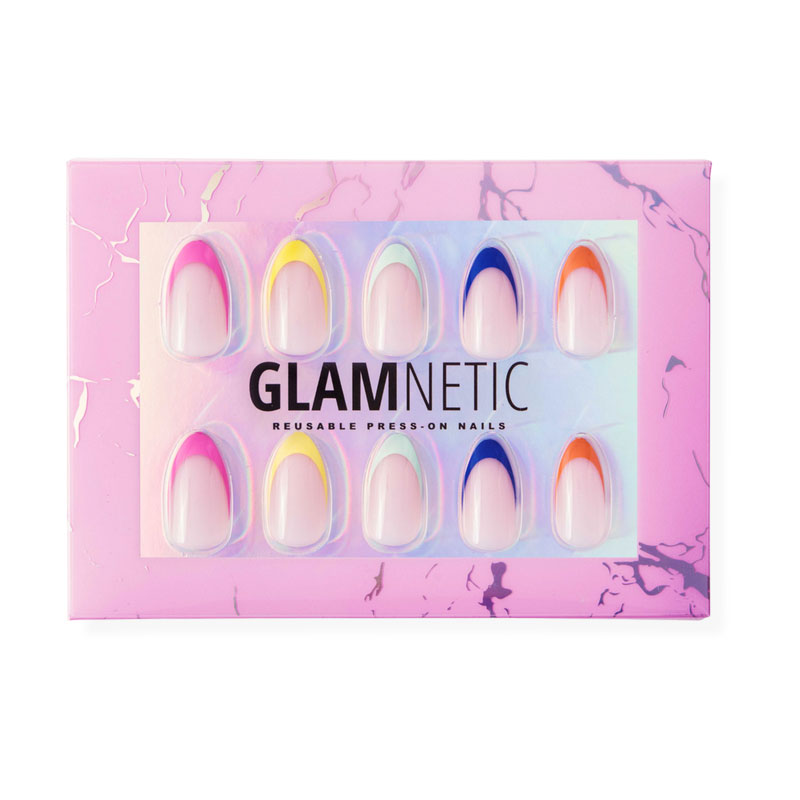
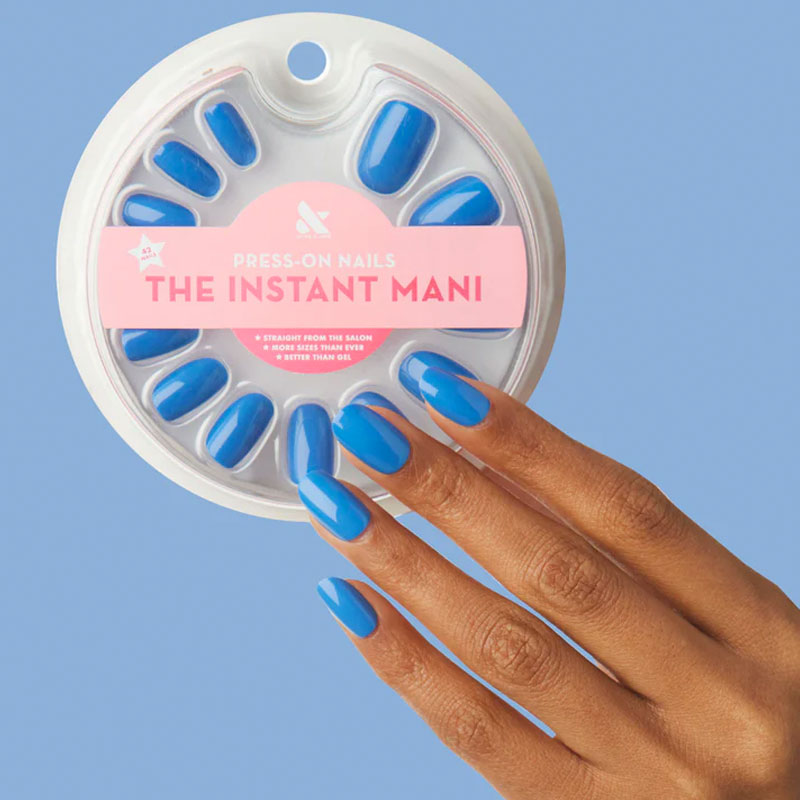
This doesn’t mean you have to buy the most expensive press-on nails on the market. In fact, some of the best options we’ve tried are also the most affordable. It’s really about searching for press-ons that are durable, provide a variety of sizes and fit comfortably over your natural nails. From Olive & June to Static Nails, there are many brands to check out (and psst, we already found 14 options for you).
The other thing to consider is your nail glue. While many sets come with an adhesive, if you’re finding that your press-ons are popping off easily, you may want to swap out the glue. Ideally, you want the glue to dry quickly and make sure that it’s water-resistant and strong enough to grip onto your natural nails. Some of our favorites are from Nailene, Kiss and NYK1.
2. Find press-ons that fit closely to your natural nails
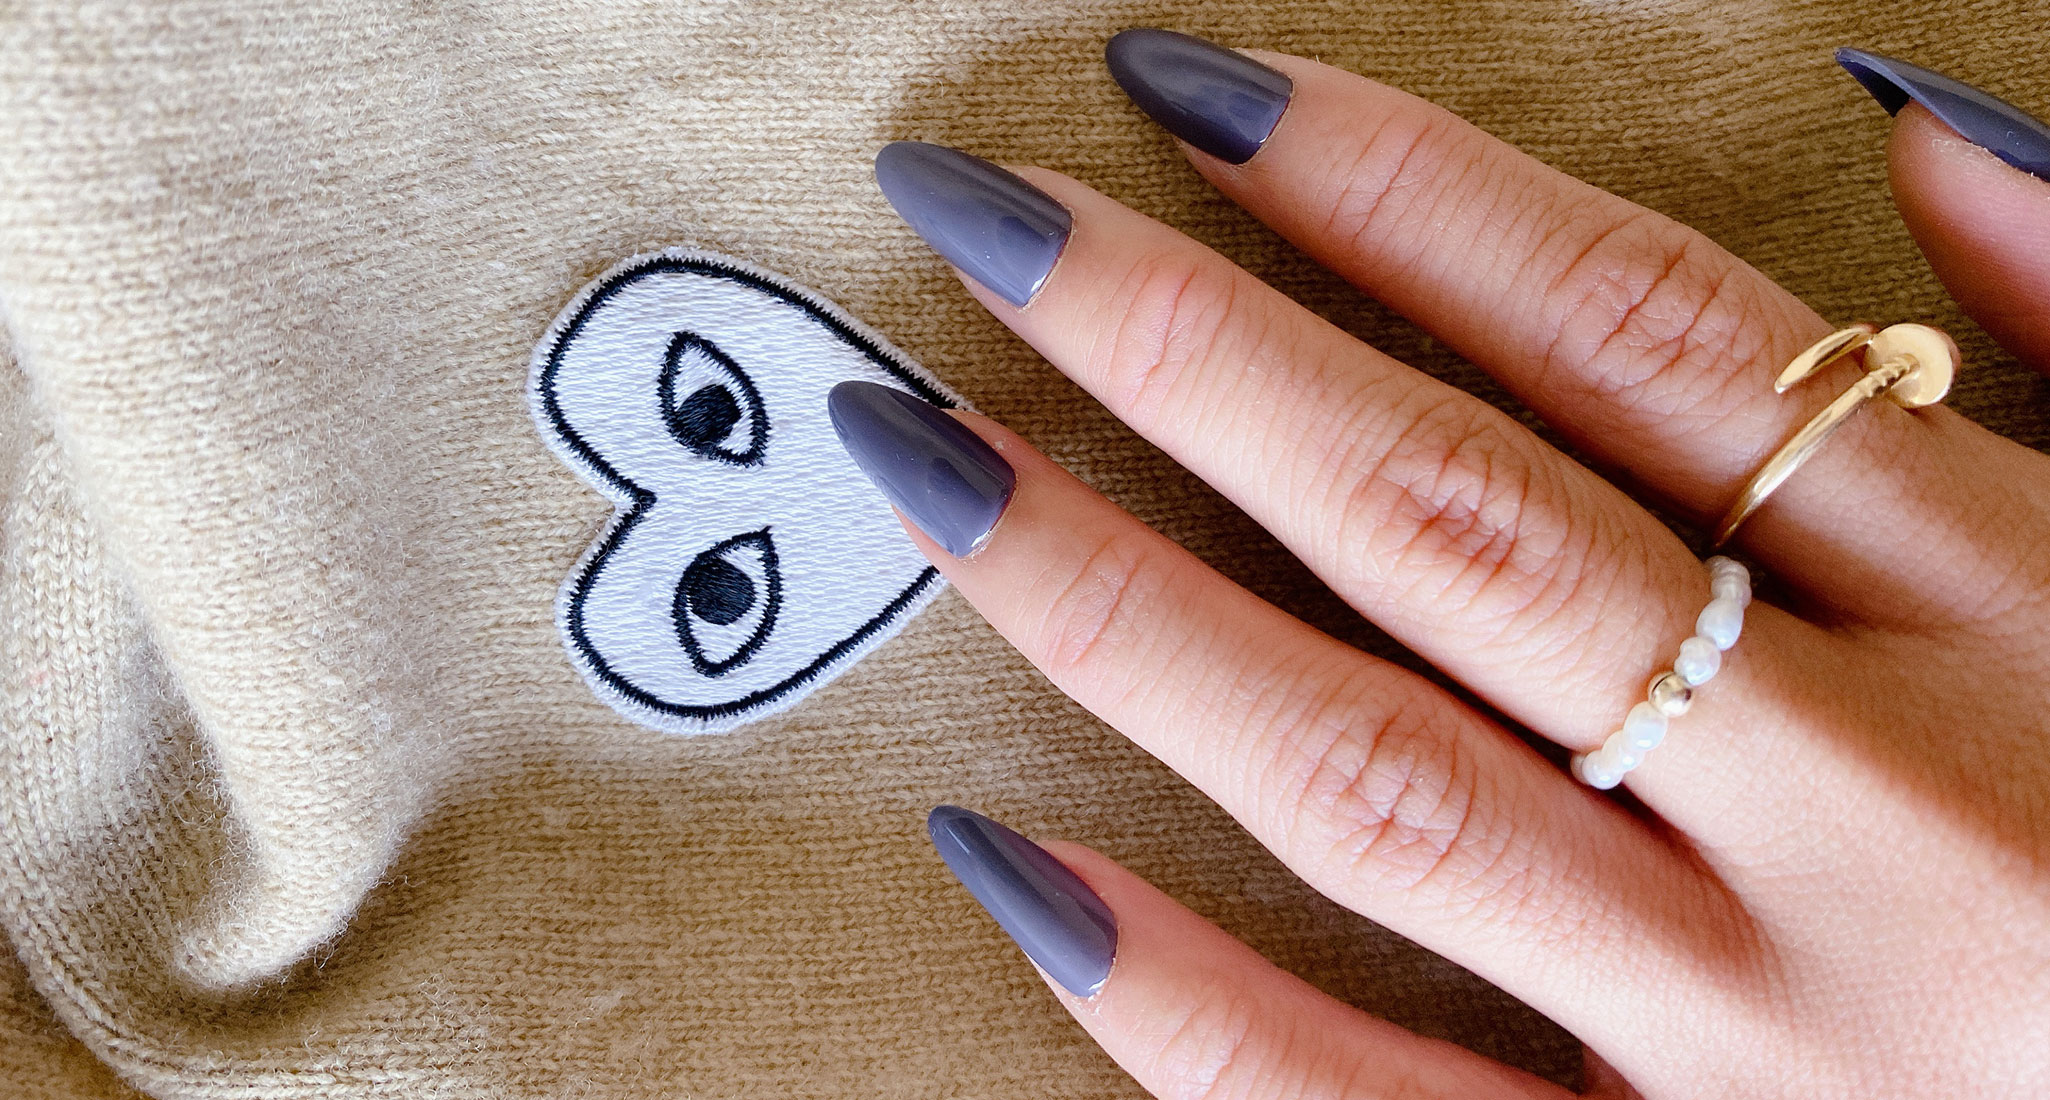
Press-on nails are a great way to give the illusion of longer, stronger nails. But if they’re too small or too long, there’s a greater chance they’ll pop right off. They can also start to feel uncomfortable, look super clunky and cause damage to your natural nails.
A well-fitting press-on follows the width and curve of your natural nails. McFerran recommends placing each fake nail over your natural nails to gauge their fit before applying them. Thankfully, many press-on nails come in a variety of sizes, so you can file them down and shape them to your liking.
3. Prep your natural nails before applying press-ons
Prep is crucial in keeping your press-on nails on longer and keeping your natural nails healthy. The process starts with:
- Cleaning your nails. Use rubbing alcohol and/or nail polish remover to wipe away dirt, oil or remaining polish. A clean surface = longer wear time.
- Filing and buffing. Shape your natural nail using a nail file before buffing the base for a smoother application. Note: When buffing, go lightly to prevent damaging your nailbed over time.
- Focusing on cuticle care. McFerran suggests using a cuticle stick to push the skin back gently and clip off any overhangs. This step ensures you have enough room to slide the press-on nails with ease, while making them look more natural.
4. Apply press-on nails correctly
The wrong application is usually the top reason your press-on nails are coming off after a few days. Here are three things to keep in mind:
- Don’t overdo it with the glue. All you need is a drop or two down the center and once you press the nail down on top, the glue will spread. For best results, McFerran recommends adding a drop to the back of your press-on and a drop to your natural nail.
- Wait before moving on to the next nail. McFerran recommends pressing down on the fake nail for up to 30 seconds before moving on to the next one. You want the glue and nail to really bond together, so don’t rush here.
- Start at the pinky and end at your thumb. This nifty trick keeps your hands free to make minor adjustments as you go so you can apply the next nail with ease (especially when you’re working with your non-dominant hand).
5. Don't forget top coat
You might be thinking, why do fake nails need a top coat? According to McFerran, it’s the key to protecting them so they last longer. She suggests applying a UV clear top coat over your press-ons to make them more durable and shinier, while also protecting them against scratches.
6. Avoid getting your press-ons wet for a few hours
H2O can weaken the glue, so consider waiting at least an hour or two before getting your nails wet. (And if you simply can’t wait that long, pull on a pair of gloves to protect your press-ons while doing any tasks that involve water like washing the dishes or doing laundry.)
7. Consider shorter press-on nails
Look, we want you to rock any type of press-ons you want. If you prefer long nails, go for it. But if you’re looking for extended wear, shorter styles are the way to go—especially if you use your hands a lot. The longer the nail, the more likely they are to snag on things and break.
8. Stick to a nailcare routine
You already have your skincare routine down, but what about your nails? Give your press-ons some attention at least once to twice a week. Check to see if any areas need a glue touch up or a good filing, and don’t skip out on moisturizing your cuticles daily so they stay soft and healthy. Last but not least, don’t push past the two-week mark with your press-ons (because you shouldn’t have them on longer than that for hygienic reasons).
So, who’s ready to show off their pressies?