Now that we’re a few weeks into social distancing, our pedicure could use a little more than a touch-up. And since it seems like we won’t be stepping into our favorite salon anytime soon, it looks like we’re going to have to deal with the chipped polish and sandpaper heels on our own. Enter: the at-home pedicure. It’s less intimidating than it sounds, and can be done in just eight easy steps. Below you’ll find a breakdown of everything you’ll need, from products to keep on hand to a quick polish drying technique that’ll save you minutes (and many smudges).
Here’s How to Do an At-Home Pedicure That’s Totally Salon-Worthy

•
Published Apr 10, 2020
PureWow editors select every item that appears on this page, and some items may be gifted to us. Additionally, PureWow may earn compensation through affiliate links within the story. All prices are accurate upon date of publish. You can learn more about the affiliate process here.
Violet Grey
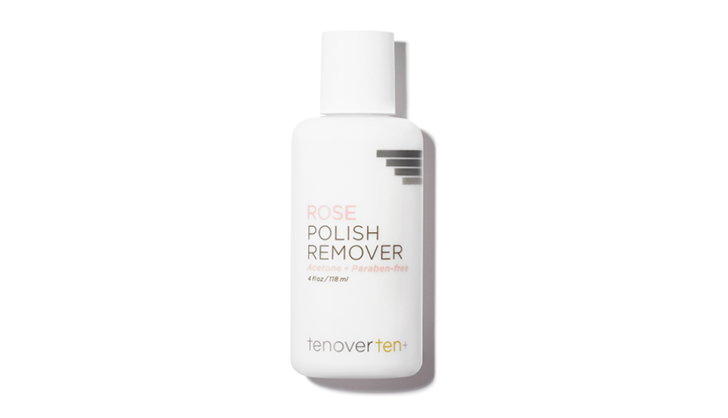
1. Remove Old Polish
Use polish remover and cotton balls to get rid of any Big Apple Red that’s still hanging on for dear life. We’re partial to Tenoverten’s Rose Polish Remover because it's acetone free, which means it won’t strip away your skin and nails’ natural oils. Plus, it doesn’t have a headache-inducing odor like some other brands we’ve tried. The formula uses soothing rosehip, nail-strengthening horsetail leaf and moisturizing vitamin E to improve your nail health with each use.
Dermstore
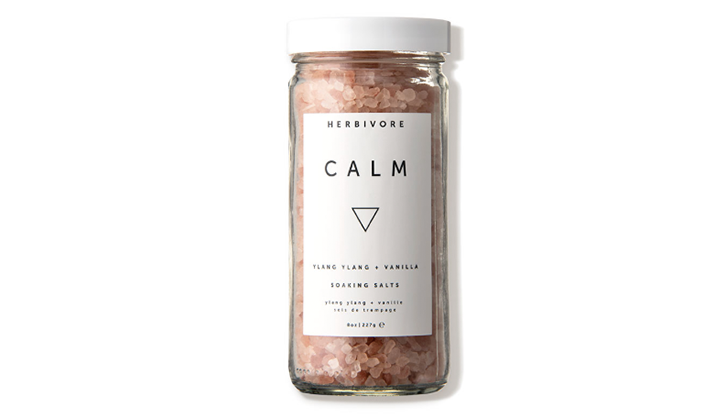
2. Soak Your Feet
Once your toenails are completely clean, it’s time for a nice foot soak. Start by filling up the tub with warm water and adding in a few drops of body wash. Then toss some Herbivore Botanicals Calm Bath Salts to really get the relaxation going. The Himalayan sea salts are infused with ylang ylang essential oil and vanilla oil to moisturize the skin, relieve tension and ease your worried mind. Submerge your feet for 15 minutes to soften tough skin, then dry them off with a towel.
Amazon
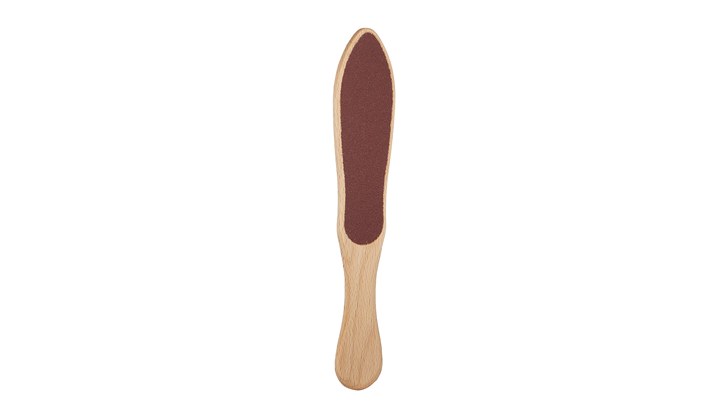
3. Get Rid Of Any Dead Skin
Use a foot file to buff any dry areas on the sides and heels of your feet. We recommend the GEHWOL Biosana Swiss Foot File to really get the job done. It’s gentle, double-sided, anti-bacterial and waterproof. “This trumps any pumice stone or foot cream you’ll ever buy!” writes one at-home pedi pro.
Amazon
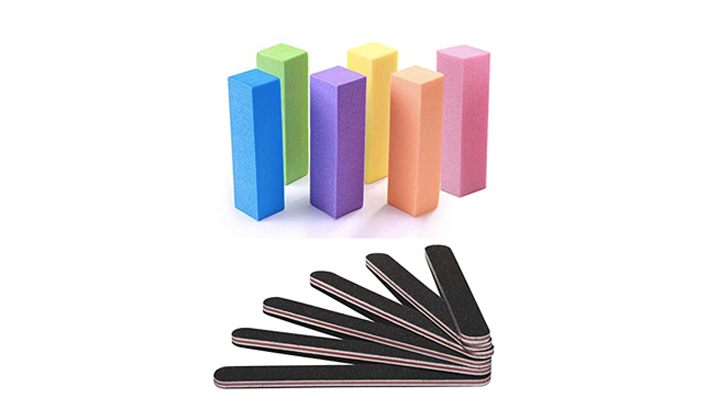
4. File And Shape Your Nails
Now that your feet are nice and smooth, it’s time to give your toenails some attention. Grab a nail clipper or manicure scissors and trim your nails straight across to avoid painful ingrowns. According to Healthline, toenails should have their own clippers (separate from the ones you use for your fingers) to avoid transferring fungus or bacteria. Good to know.
Once you’re happy with the length, grab a nail file and slightly round the corners of the nail so they’re not sharp. This step makes all the difference. Invest in a set like TsMADDTs’s Nail Files and Buffers which includes six professional quality nail files and buffers for all your future at-home manis and pedis.
Dermstore
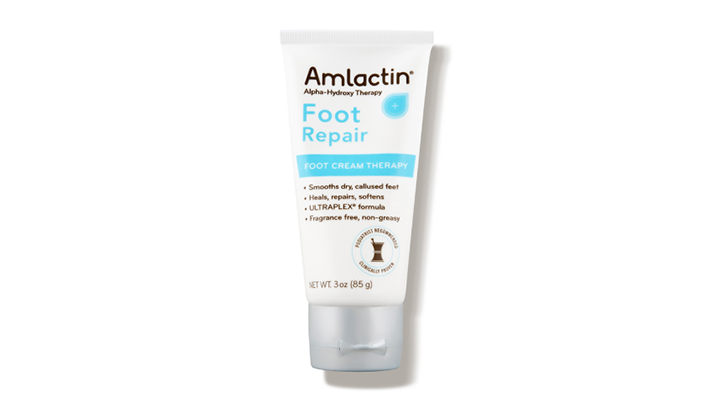
5. Moisturize Your Feet
This step ensures that your feet will stay smooth and soft—just like they do after a trip to the salon. Slather on some AmLactin Foot Repair Foot Cream Therapy and the lactic acid-based formula will slough away dead skin and banish dryness. Buyers refer to it as “pure gold” and the secret to “sandal-worthy feet.” Once it’s applied, give yourself a quick foot massage—you deserve it.
Buy It ($10)
Violet Grey
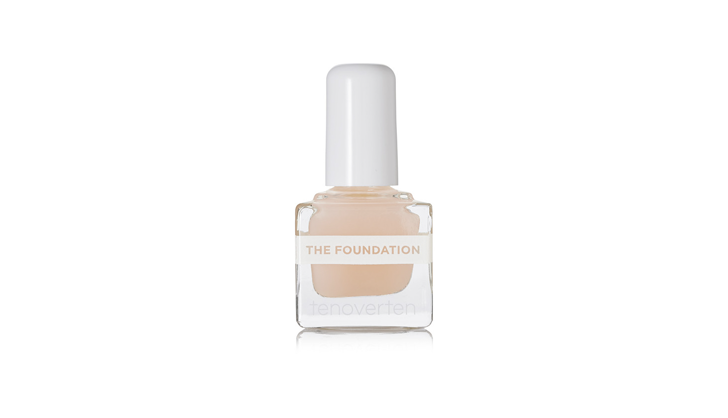
6. Put On Base Coat
Find a spot to perch your foot on and then start painting your nails with a base coat to strengthen nails and help the polish last longer. We like Tenoverten’s The Foundation because it’s a non-toxic formula that repairs weak nails and prevents chilpping.
Start at the middle of the base of the nail, above but not touching the cuticle, and swipe the brush up to the tip. Do the same on the left and right side of the nail, so that it’s completely covered. Let the polish dry for about two minutes before brushing on your color of choice.
Target
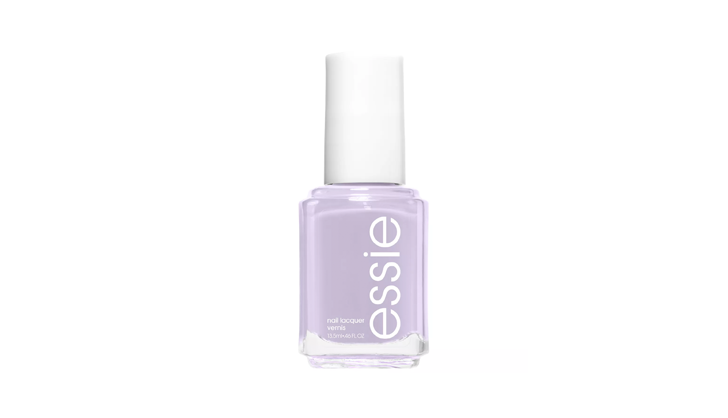
7. Apply Your Nail Polish
Once you choose a color (a true feat, we know), apply a thin coat to each nail. Lately, we’ve been opting for bright shades like Essie’s Go Ginza, a lilac purple that screams ‘spring is here’...even while we’re stuck indoors.
Wait about two minutes, then apply a second coat. Use the same technique you used for the base coat (middle, left, right). Wait another two minutes before finishing it off with a top coat to maintain the shine and luster of your nails.
Amazon
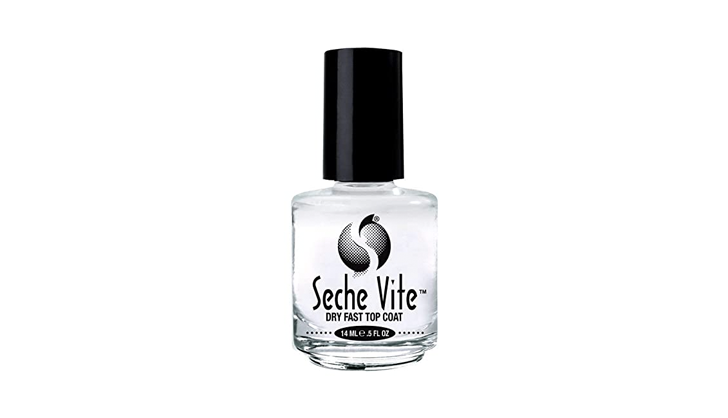
8. Finish With A Quick-drying Top Coat
It can take a long time for nails to dry (and the last thing you want is a chipped nail after working so hard on them), so invest in a quick-drying top coat like Seche Vite Dry Fast Top Coat. The invisible shield dries in just minutes and protects your polish from nicking and dulling. The over 5,000 five-star reviews on Amazon speak for themselves.