Though mascara will always be my first pick for daily makeup looks, false lashes are great for special occasions. I’ve been a diehard strip lashes gal for a long time, but I recently discovered individual lashes. Also known as individual clusters, they're known for being more customizable, easier to apply and way more natural looking than strip lashes. Individual lashes are also a cheaper alternative to getting eyelash extensions done at the salon. However, I’ll admit, I was initially intimidated to try them out at home, so I tapped two celebrity makeup artists to share their best tips for applying individual lashes—plus, advice on how to safely remove them.
How to Apply Individual Lashes (Because Strip Falsies Are So Last Year)
A step by step guide
•
Published Jun 7, 2024
twinsterphoto/Getty Images
Meet the Experts
- Erika La’Pearl is a celebrity makeup artist based in Miami, Florida. She has eight years of experience, where her work has been featured in editorial shoots, award shows and brand collaborations. She works exclusively with Cardi B.
- Renny Vasquez is a celebrity makeup artist with over two decades of experience in the industry. His work has been featured in editorial, red carpets and brand collaborations. His previous clients include Serena Williams, Gabrielle Union, Brandy and Winnie Harlow.
How to Apply Individual Lashes
If your first question is are individual lashes hard to apply? I’m here to tell you it’s going to take a lot of practice and patience to get right, but the payoff is so worth it. Thankfully, the experts I interviewed were gracious enough to break things down into four easy steps. Stick with these instructions and you’ll be a pro in no time.
What You’ll Need
- Individual Lashes
- Lash Glue
- Tweezers
- Mirror
Paula Boudes
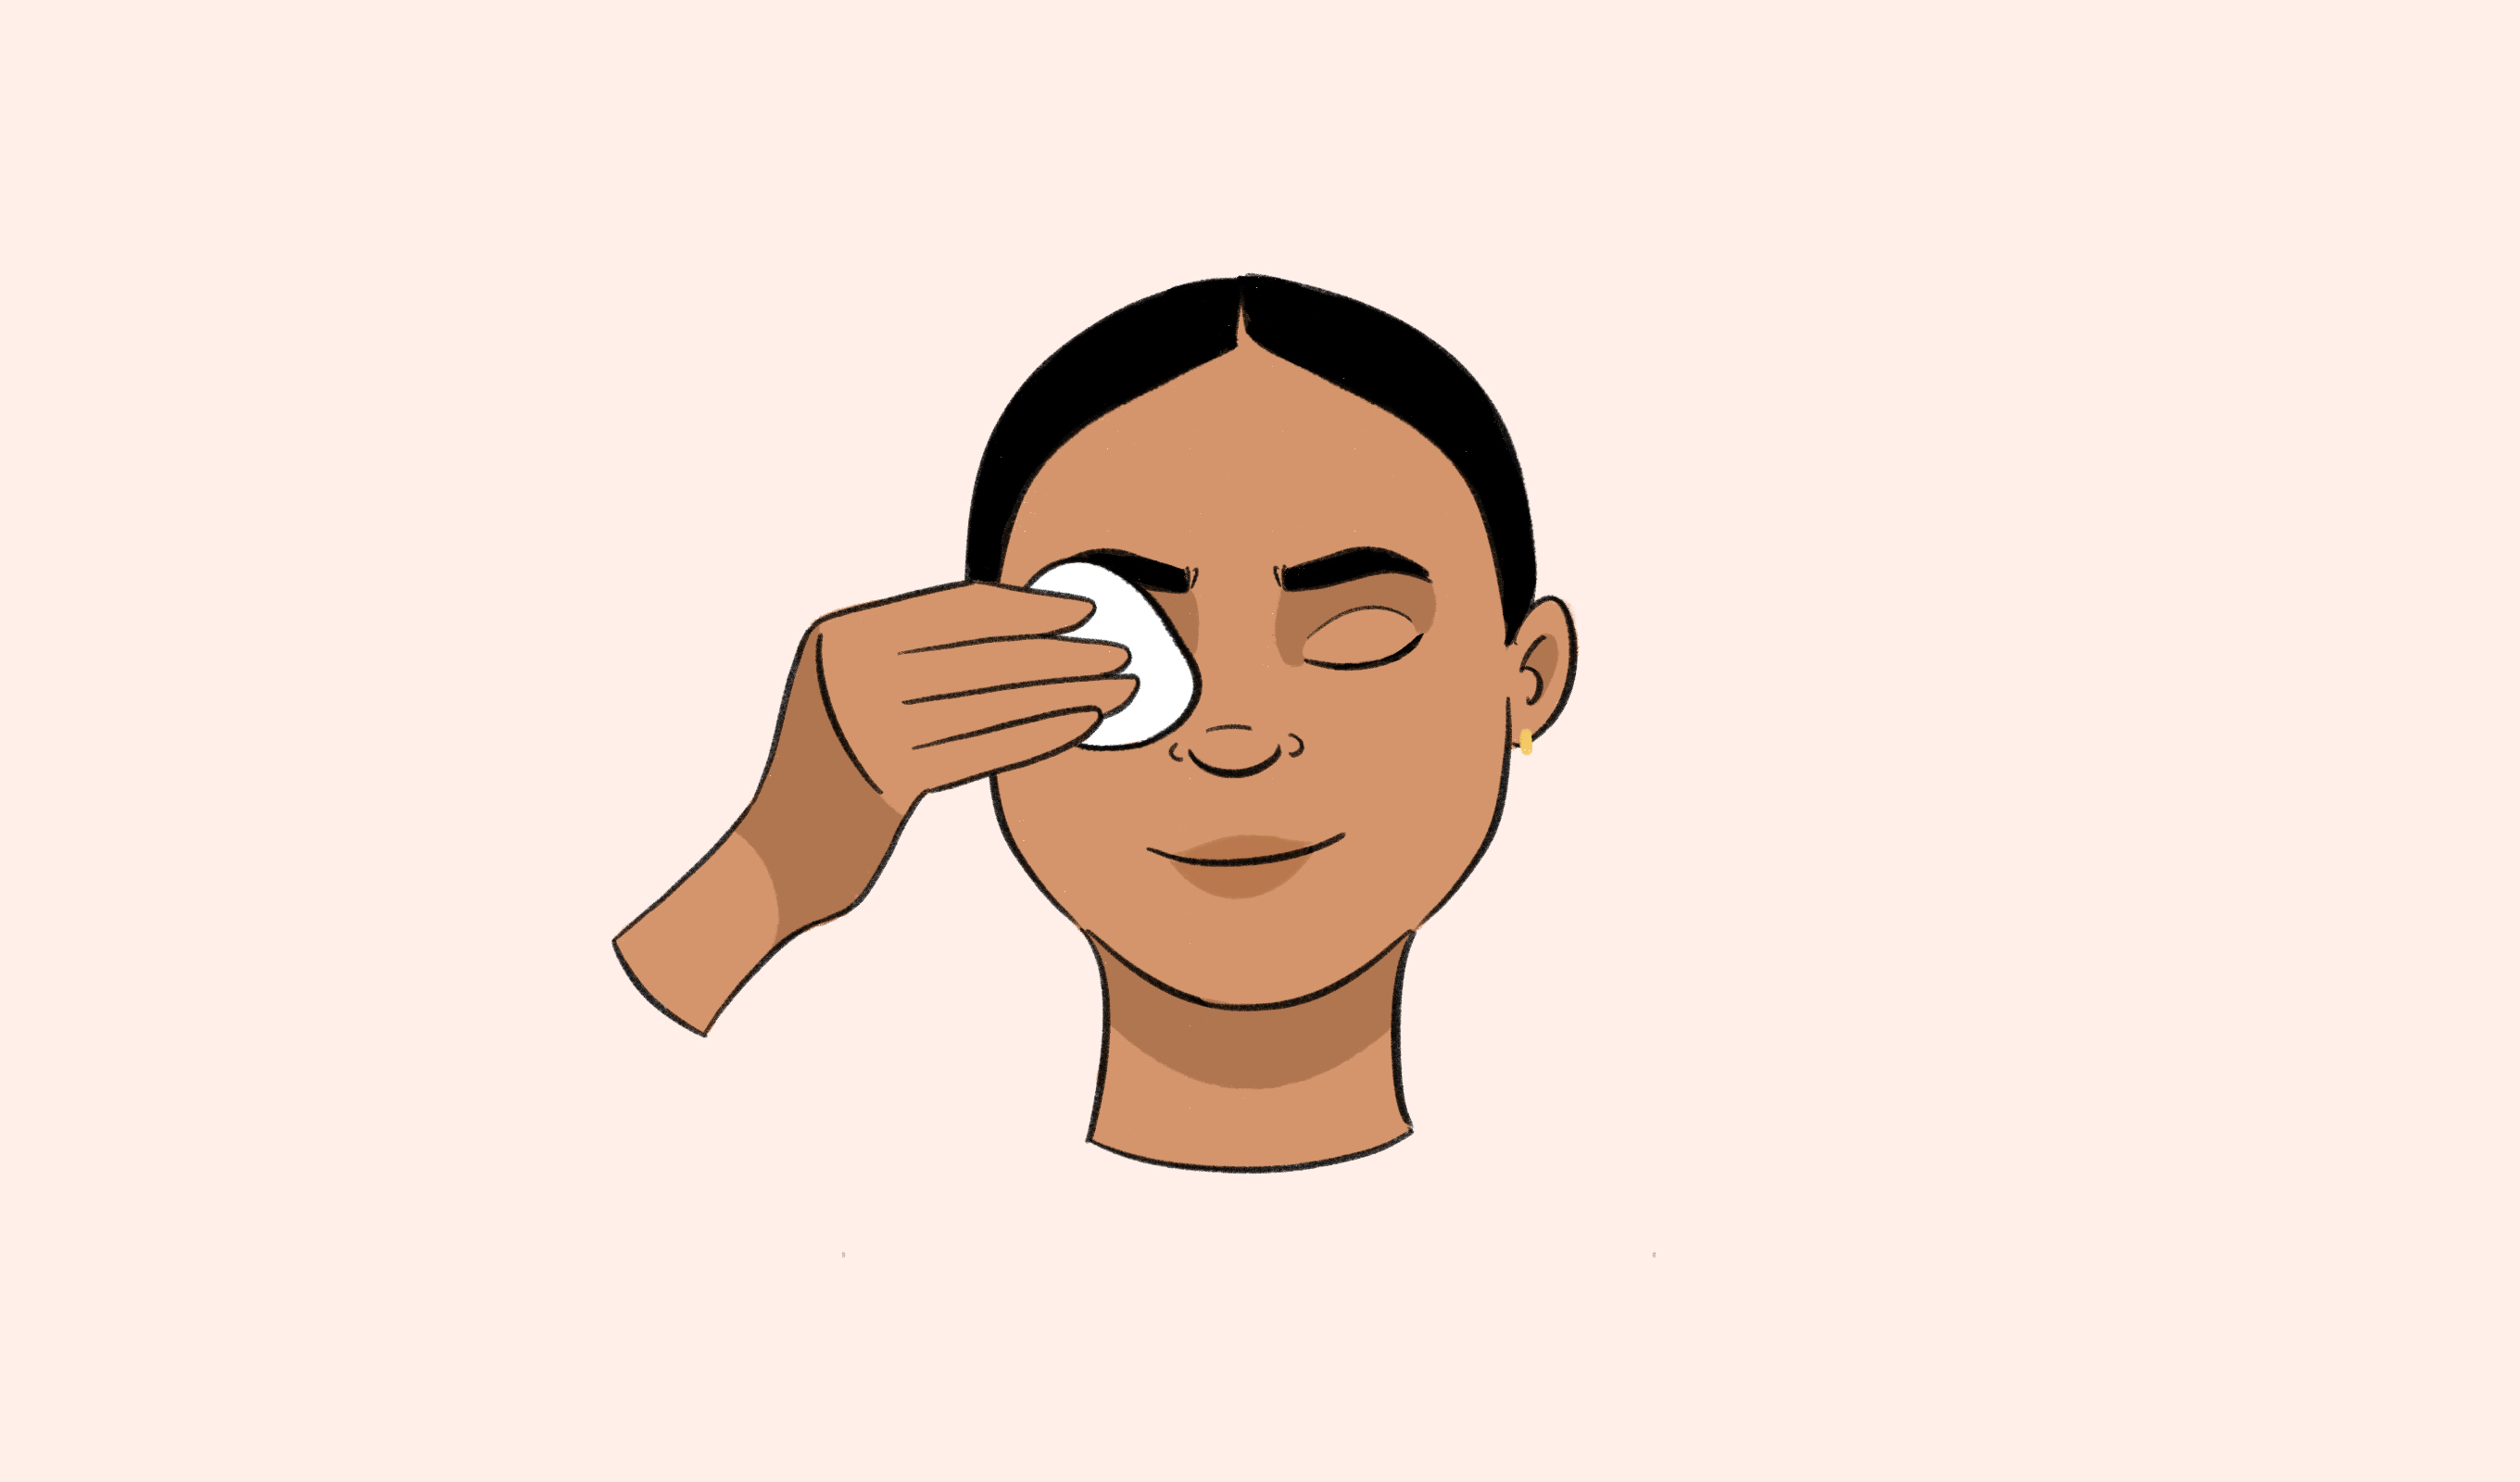
1. Clean the Eye Area
According to La’Pearl, you should always start by prepping the eye area. This means using micellar water to wipe down the skin around your eyes and avoid putting on any makeup until after you’ve applied your individual lashes. You can also curl your natural lashes for a more lifted look.
Paula Boudes
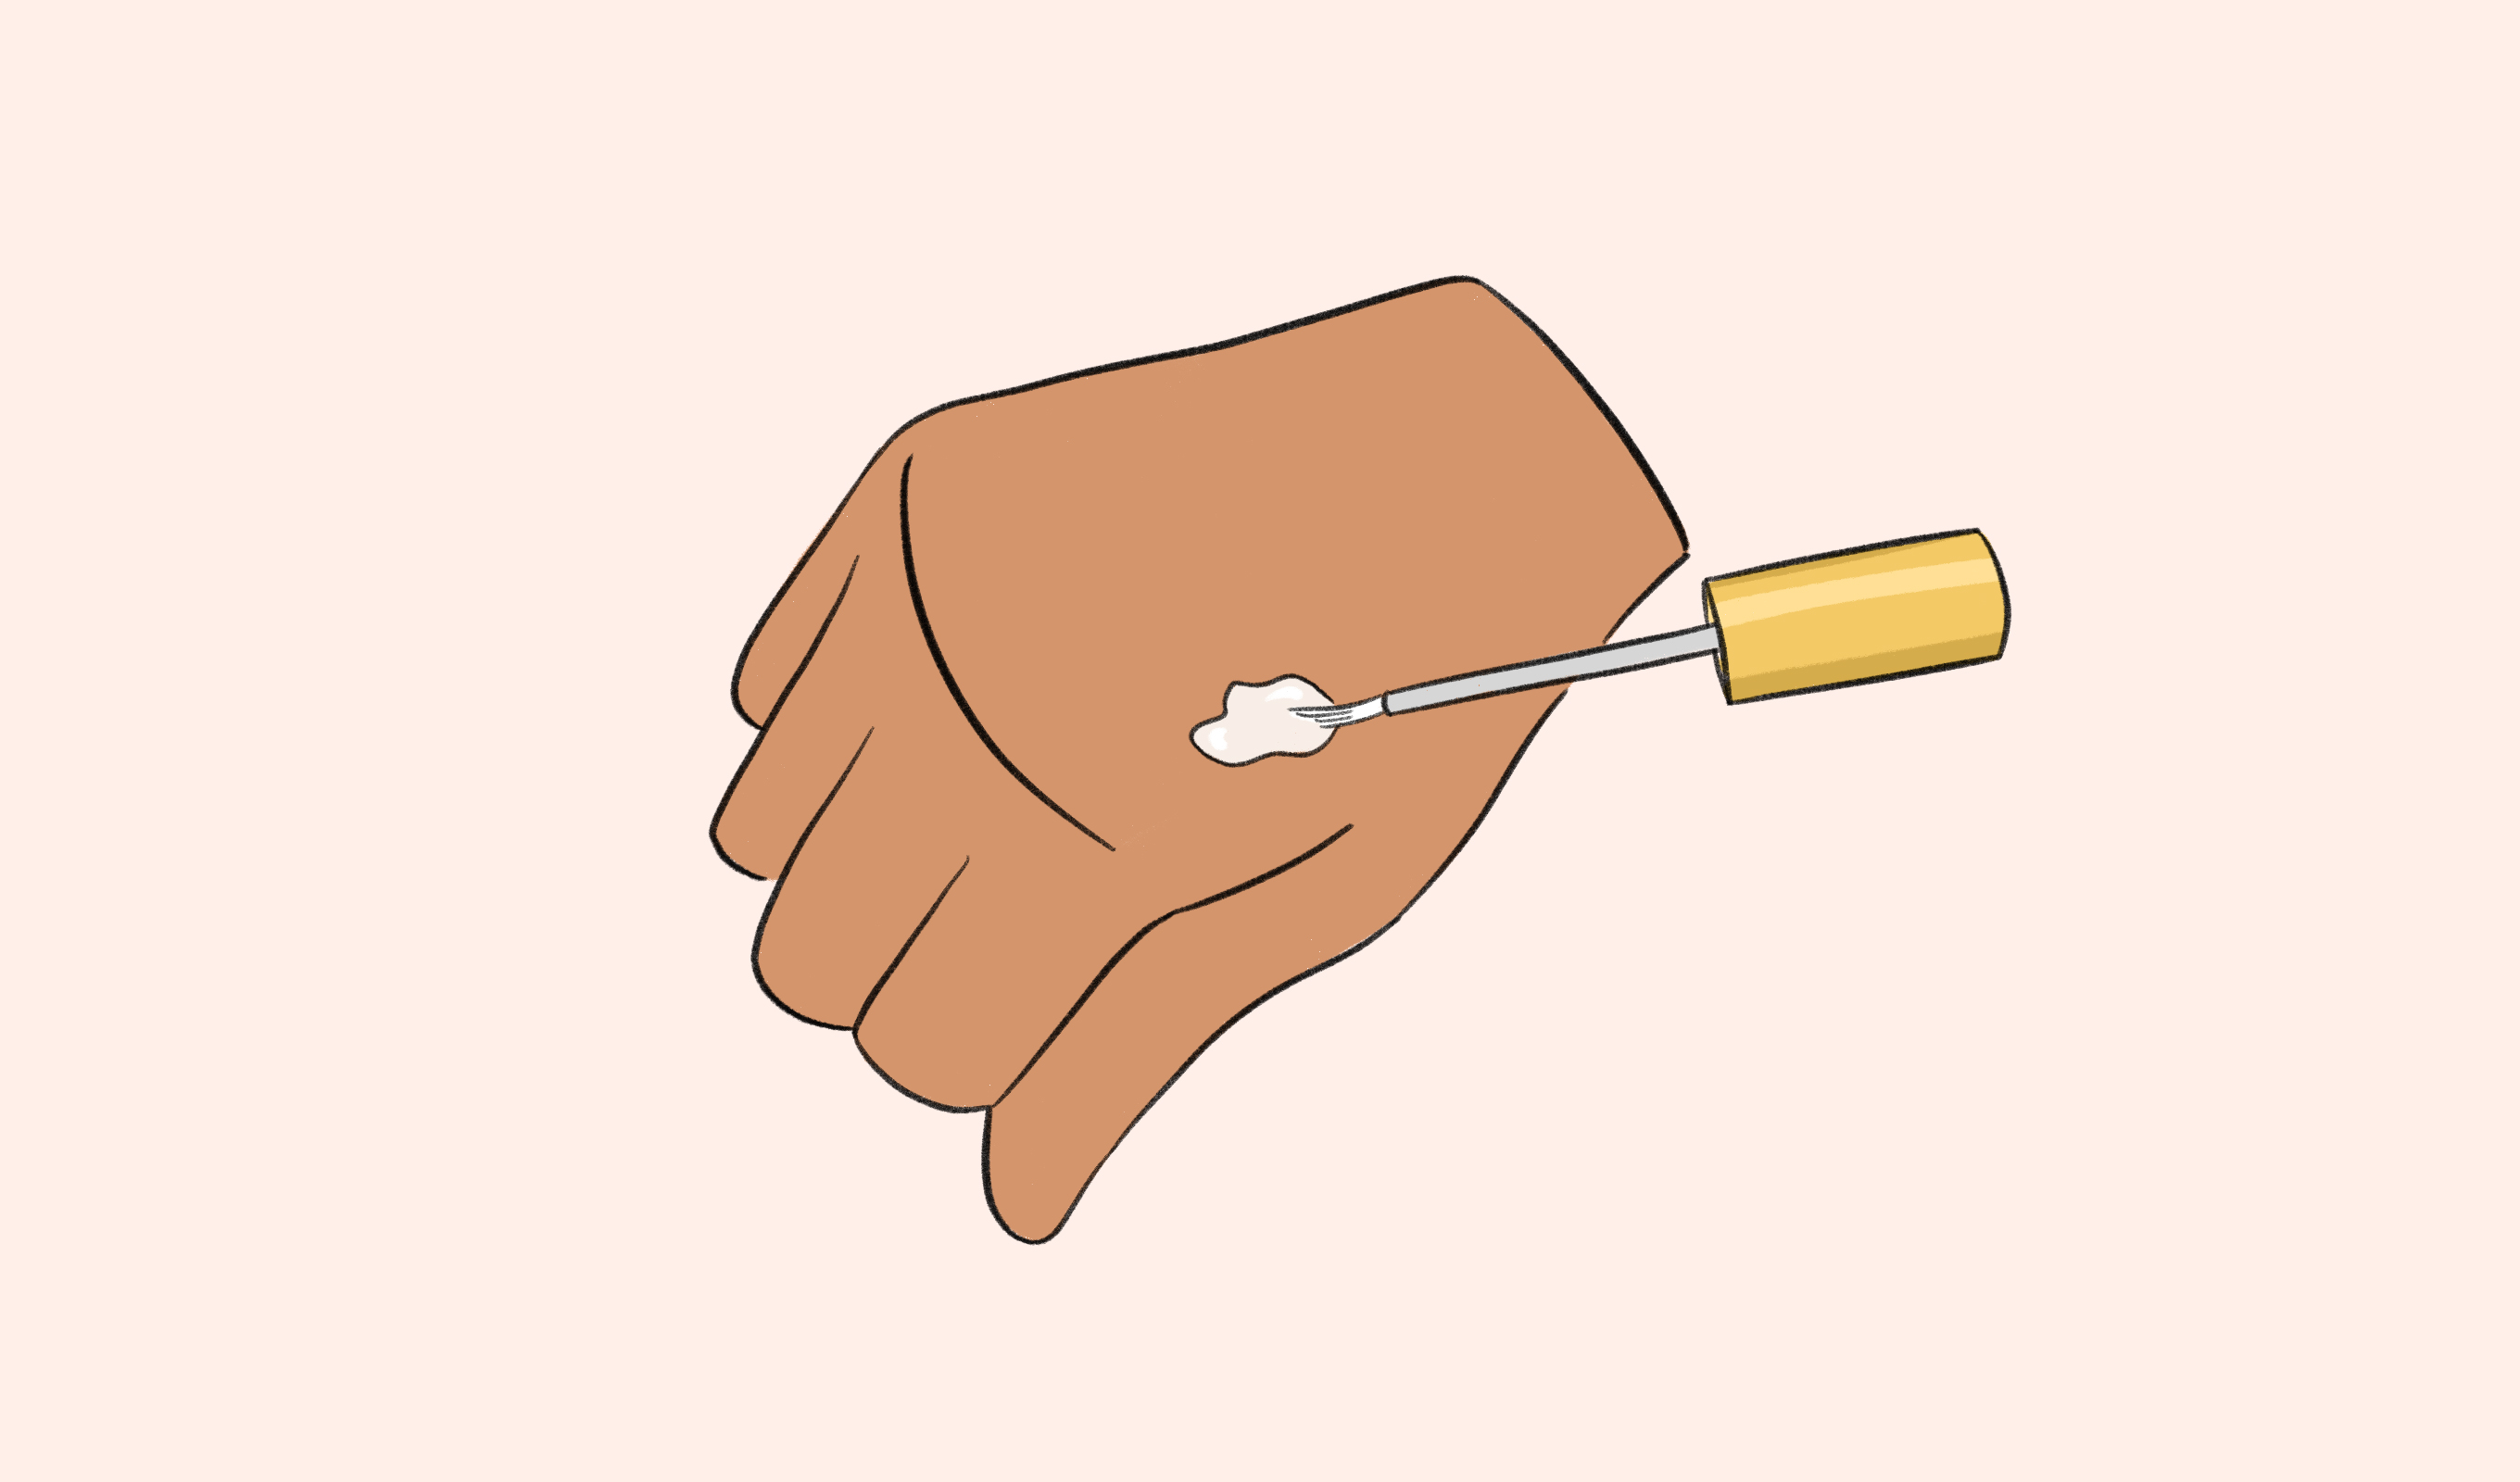
2. Prep the Lash Glue
Apply a small drop of lash glue to the back of your hand or any flat surface (like a piece of foil, a makeup tray, etc.) and wait 30 to 60 seconds for it to thicken. You want it to get tacky enough to stick nicely to the base of the individual lashes and attach to your lash line without sliding around. If the lash glue is too runny, there’s a greater chance of the individual lashes shifting and moving throughout the day.
While you wait for the glue to harden, Vasquez suggests laying out your lashes to get an idea of how you want them to look. “Lay them all on a clean, smooth flat surface in order of your desired style from inner to outer corner. It's so cool to see your lash look created in front of you before you even apply them,” he shares.
Paula Boudes
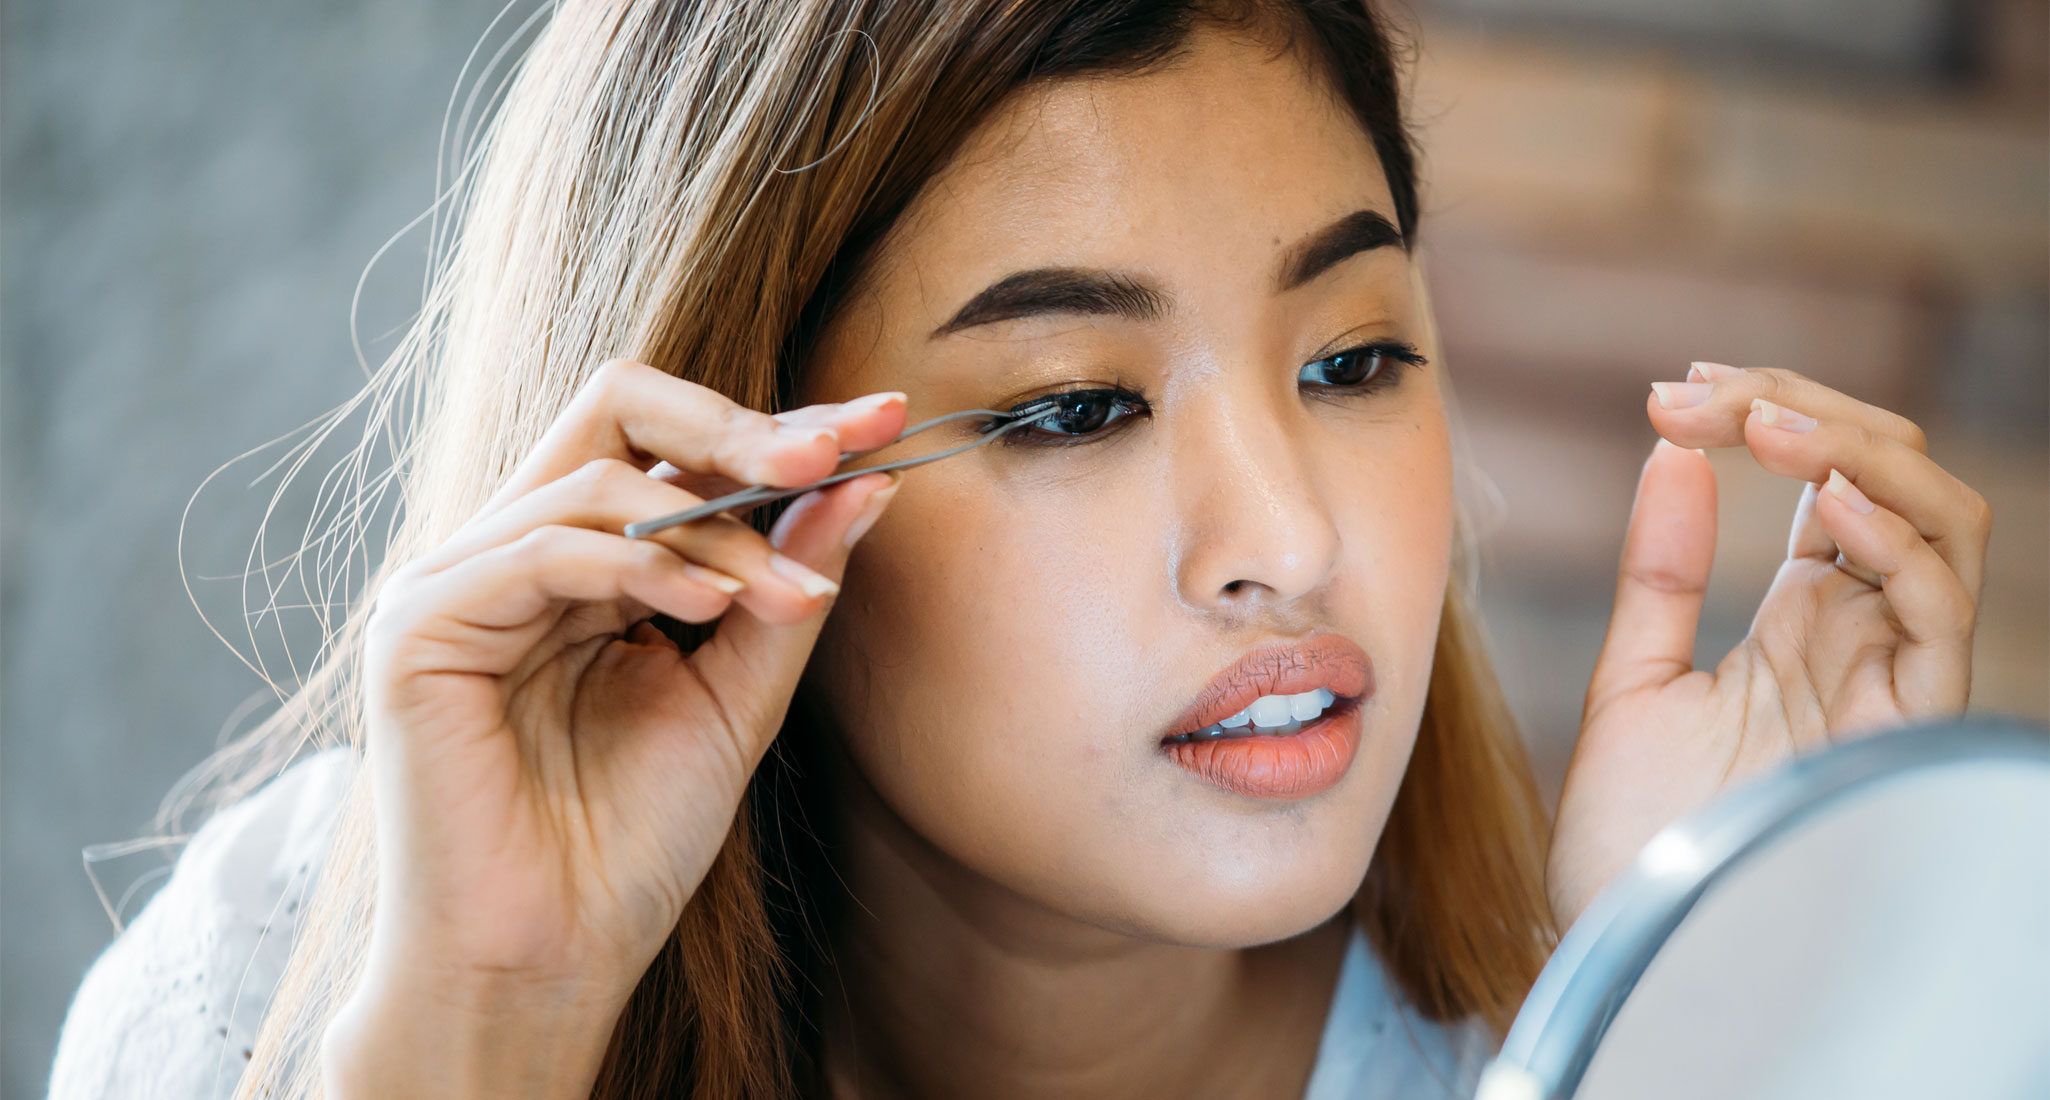
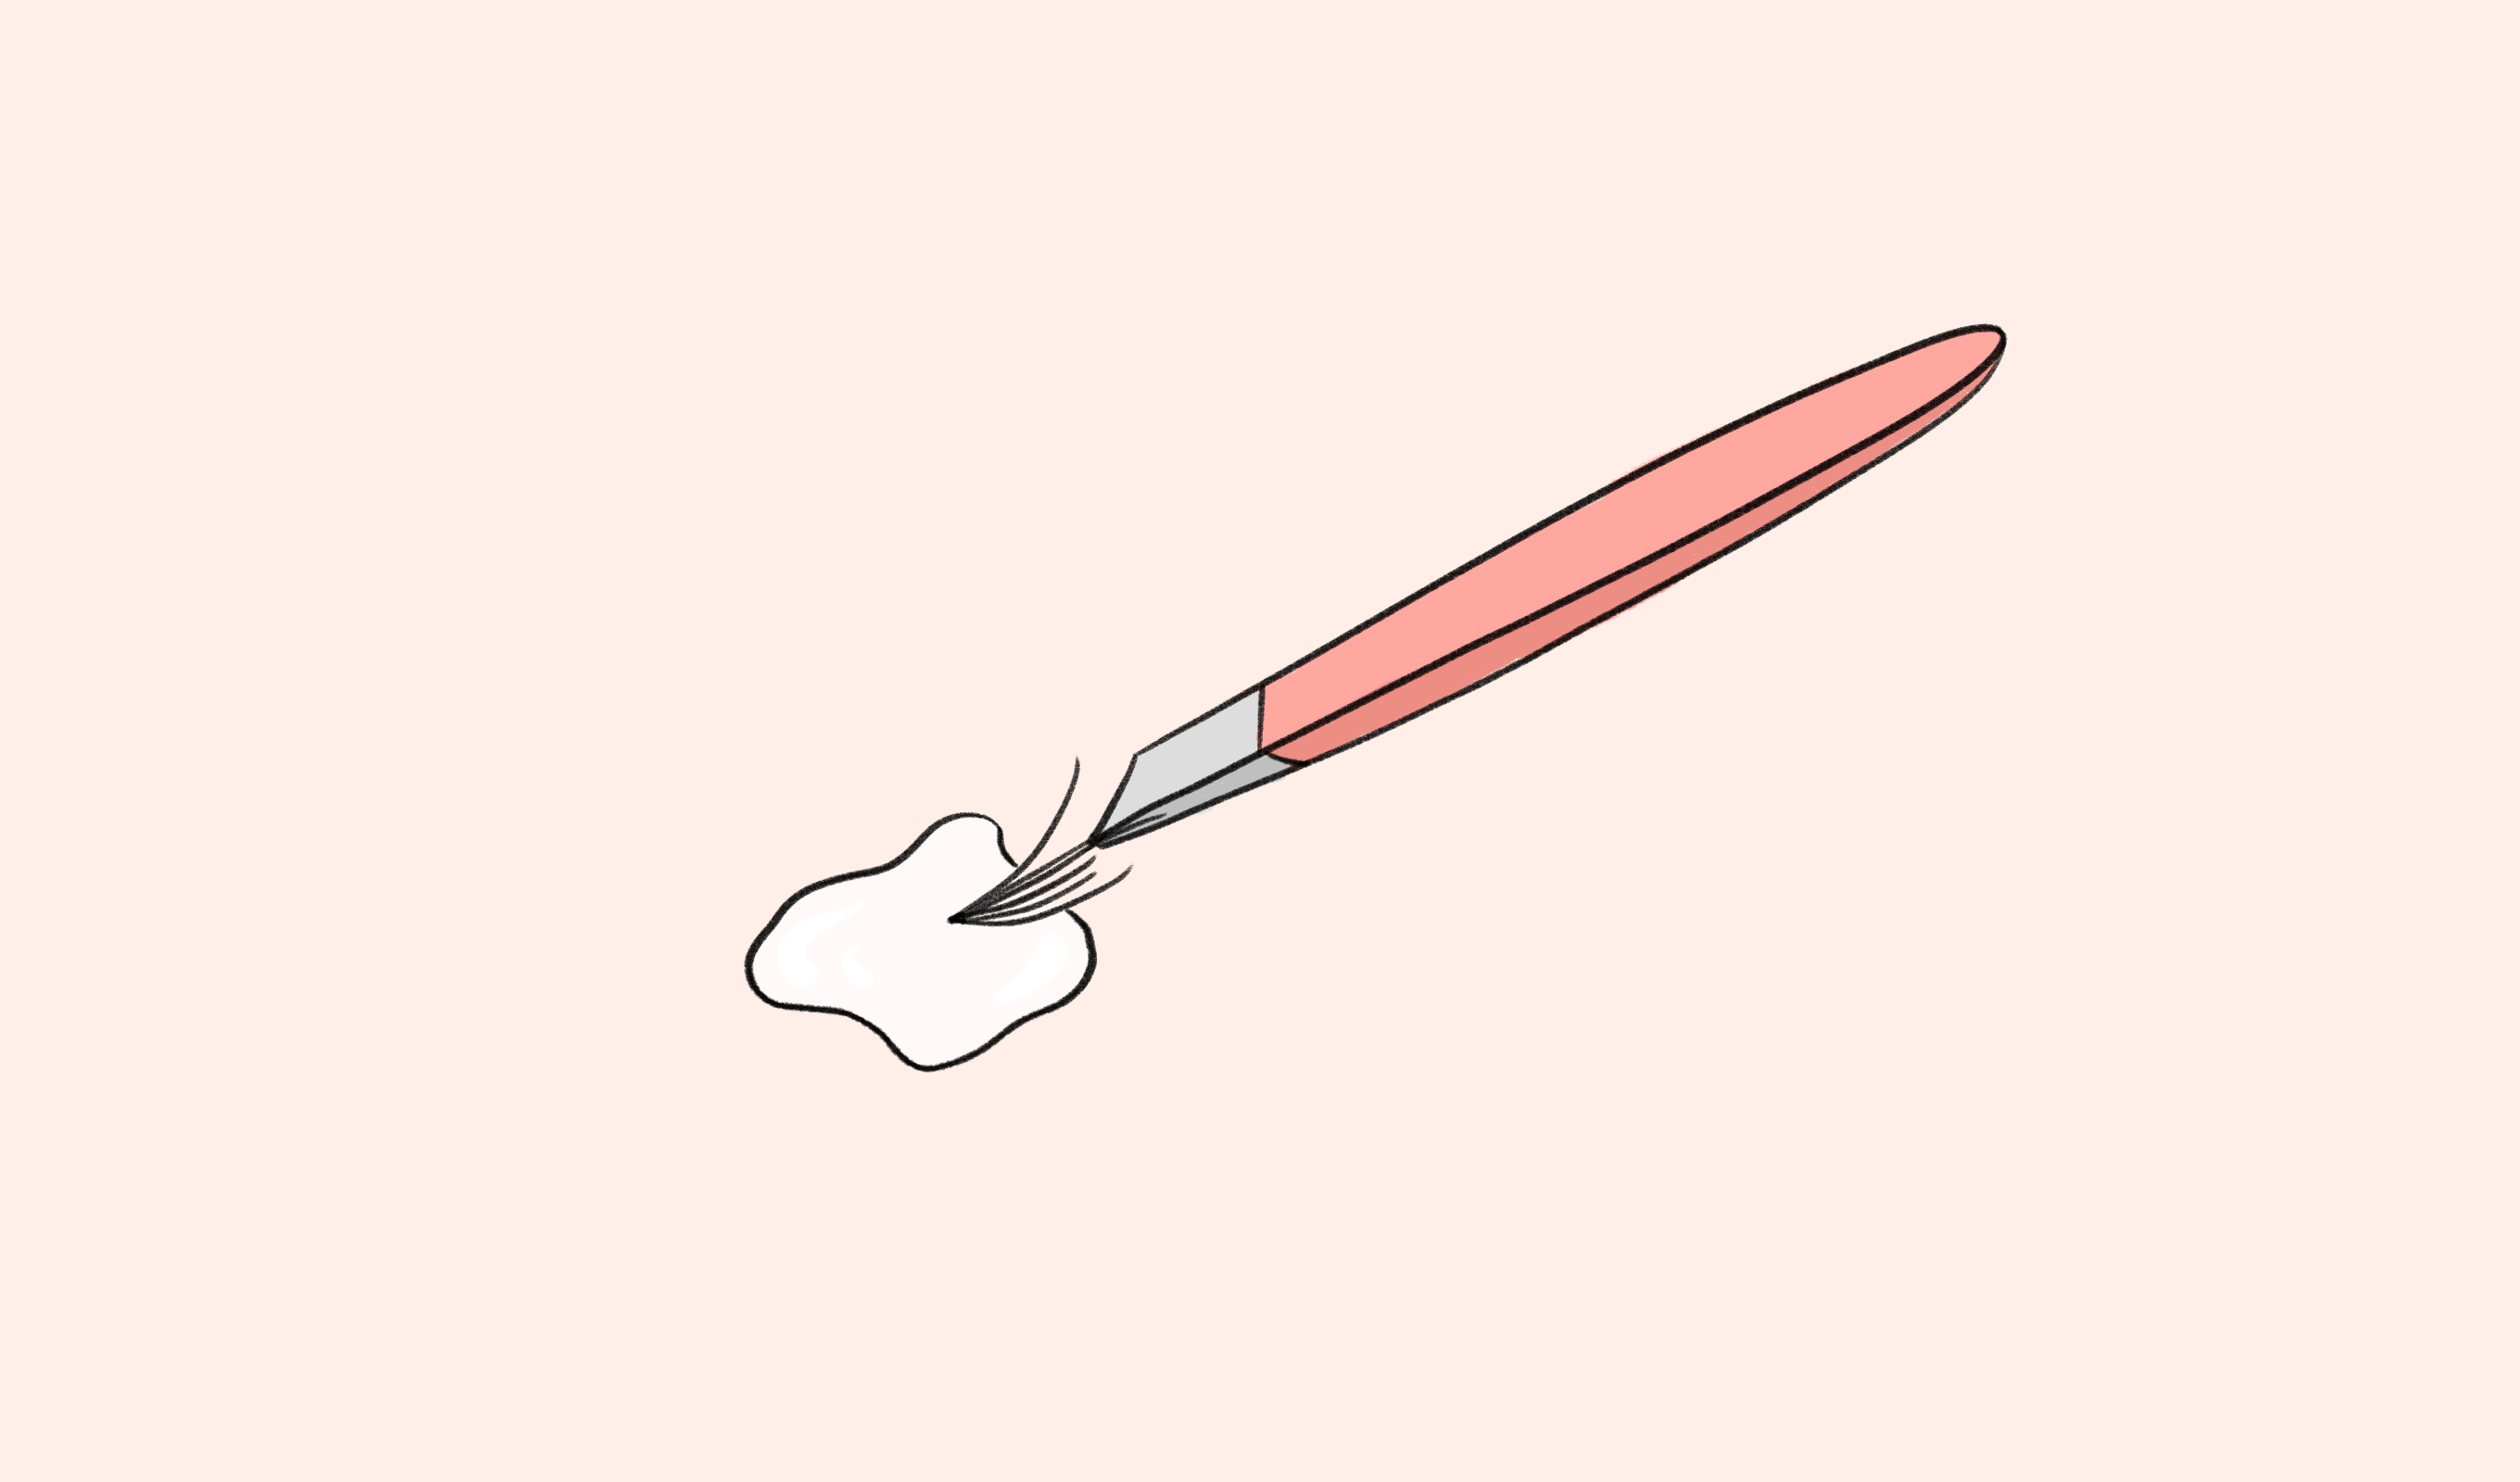
3. Apply Individual Lashes
Use your tweezers to grab a cluster of lashes and dip the base into the lash glue. Next, tilt your head back and slowly lay the lashes as close to the natural lash line as possible without touching your eyelid skin. The experts recommend starting at the inner corners of your eyes and slowly moving to the outer corners.
As for deciding how many individual lashes to apply per eye, this will come down to personal preference. If you’re looking for a natural look, the experts suggest adding three clusters of lashes to any sparse areas, so they add a little boost, but still blend in seamlessly with your natural lashes. If you want a more voluminous look, bring the clusters of lashes closer together and play around with different lengths—try shorter lashes in the inner corners of the eye and add longer lashes towards the center and outer corners of the eye.
Paula Boudes
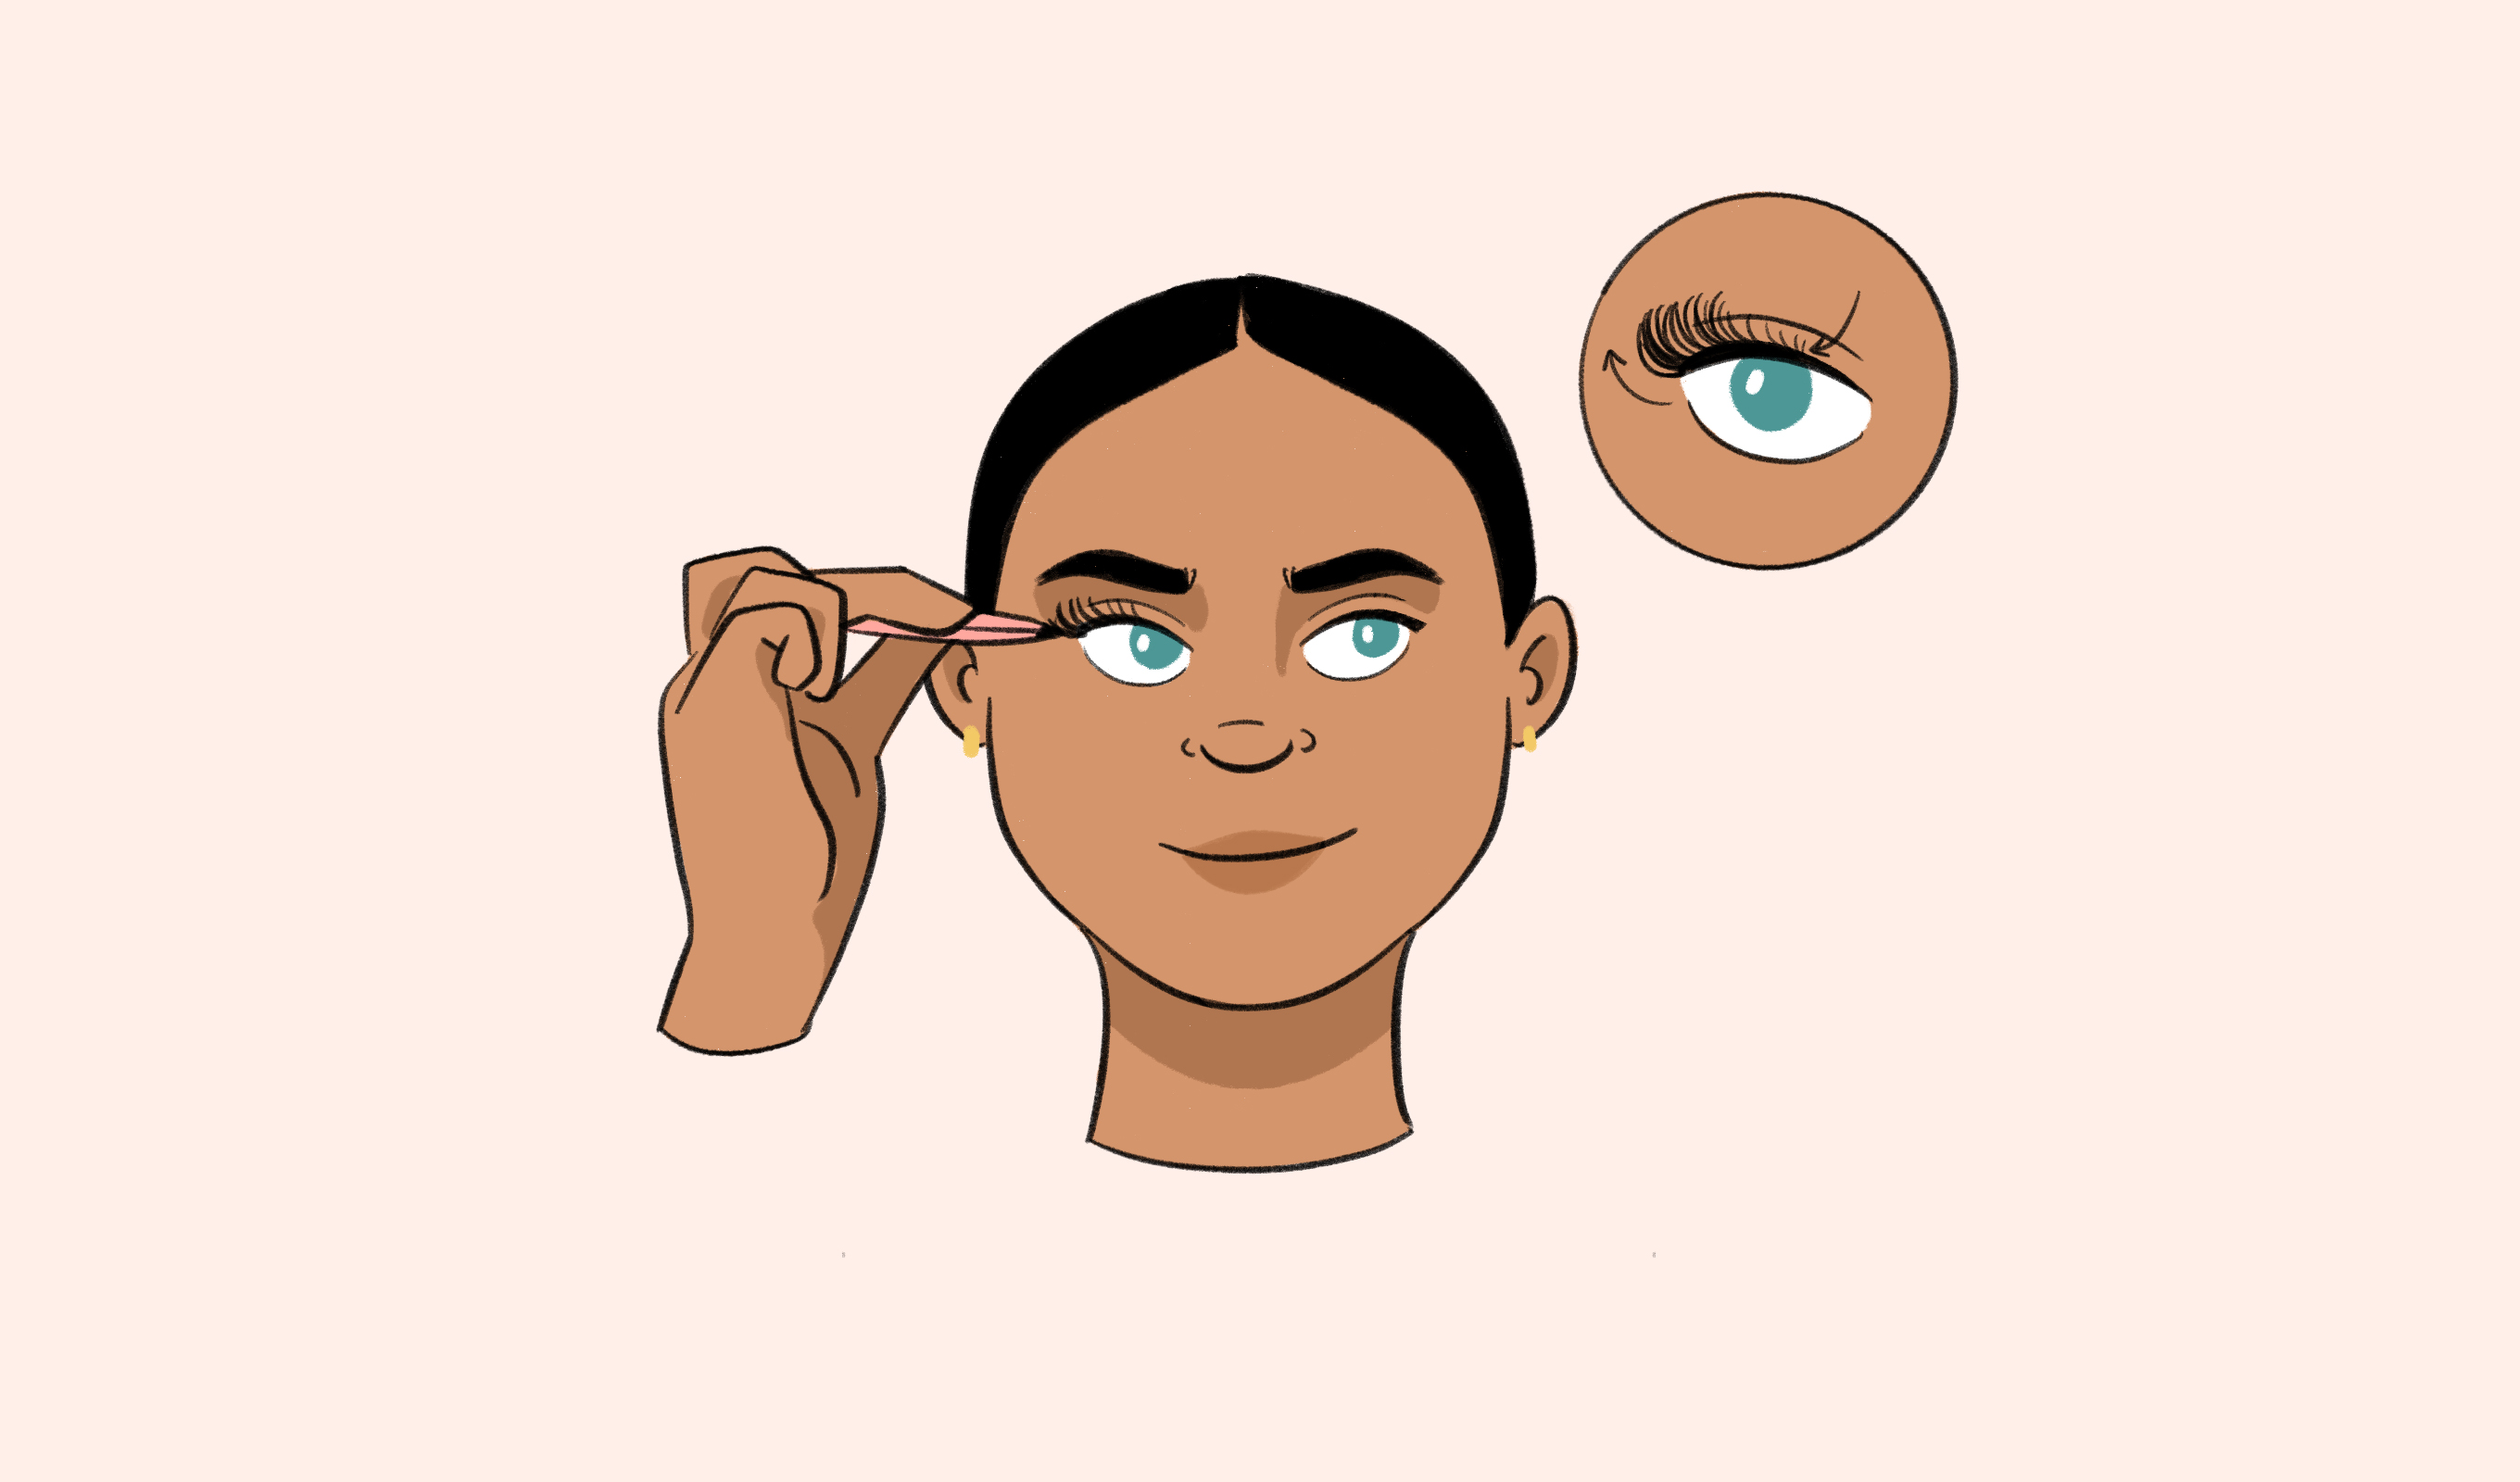
4. Let the Individual Lashes Dry and Set
Once the individual lashes are all placed, let them dry for a few minutes before combing them with a spoolie to ensure everything is blended together. There’s also the option to use a lash curler to really make everything look uniform and more lifted. Finally, finish with the rest of your eye makeup routine.
How to Remove Individual Lashes
The removal process is actually fairly easy and pain-free. All you’ll need is a cotton pad and an oil-based makeup remover to soften the lash glue and remove the individual lashes.
- Soak the cotton pad in the oil-based makeup remover. La’Pearl notes baby oil or coconut oil are also a great alternative to loosening up the adhesive on the lashes.
- Close your eyes and place the cotton pad over them for a minute. Then, massage the pad gently over the eyes in a circular motion to further break down the glue.
- Watch the lashes begin to fall off and wipe away any residue.
A final note: Never pluck off individual lashes with your fingers or tweezers, as you can run the risk of pulling out your actual lashes.
Want more beauty tips sent right to your inbox? Subscribe here.
Frequently Asked Questions
How Can I Find the Right Individual Lashes for Me?
There are a few factors to consider when choosing the right lashes for you.
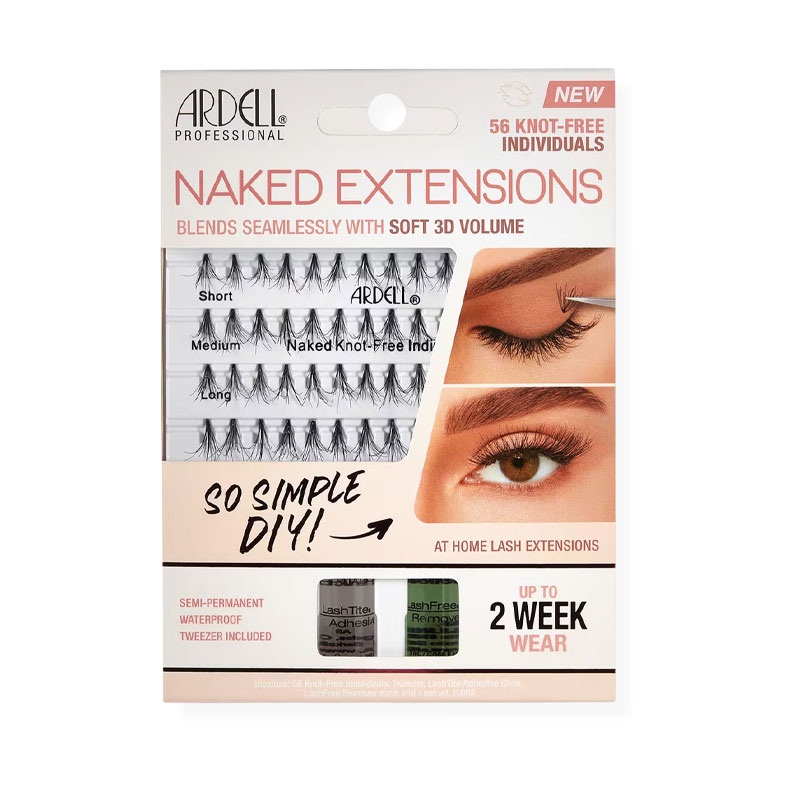
- Length: You want individual lashes to mimic your own. As Vasquez shares, “They are made to extend lashes to look either longer, fuller or a combination of both longer and fuller than one’s natural lashes.” Take a moment to inspect your natural lashes to find out if you have a short, medium or long lashes, and try to keep your individual clusters close to that. Remember: You want a subtle enhancement with these.
- Thickness: You also want to take the thickness of your natural lashes into consideration. Are they fine and short? If so, single layers of individual lashes are the way to go. Do you have thicker lashes? Double layers of individual lashes will give you a more natural look.
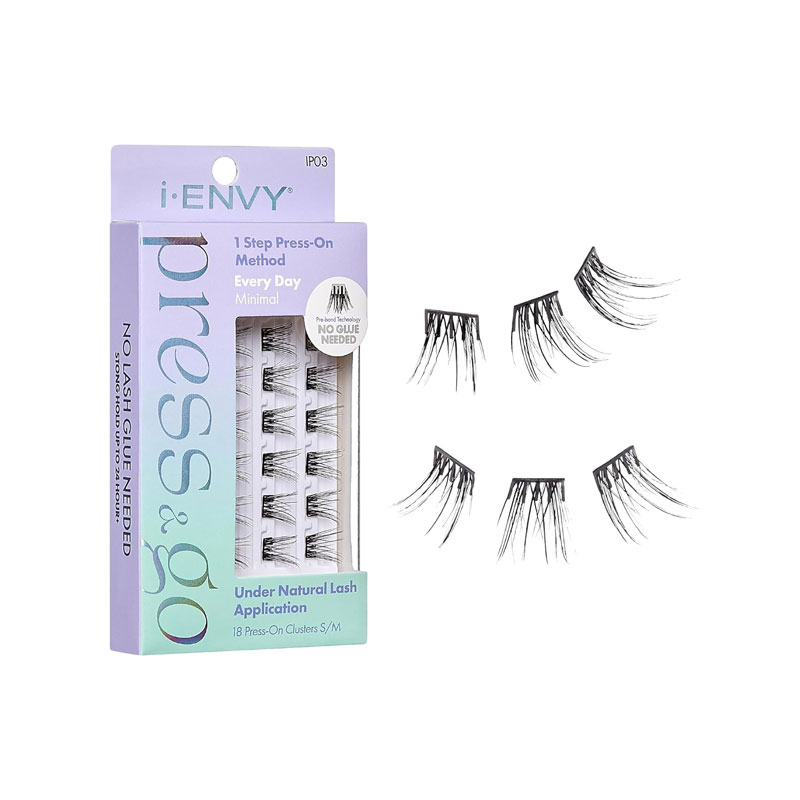
- Tools: It can be overwhelming to find the best individual lashes along with the right adhesive and tweezers. Luckily, many brands include these essentials in their kits to make the process easier.
How Long Do Individual Lashes Last?
According to La’Pearl, certain individual lashes can last between three to six weeks with a strong enough foundation. However, some individual lashes are labeled as temporary and should be removed after one use. Just make sure to look at the instructions on the kit. Generally speaking, you shouldn’t keep individual lashes on for too long, as dirt and bacteria can build up on them, causing irritation or even infection. If you're looking for a more permanent look, consider getting lash extensions done at the salon.
Are Individual Lashes Better Than Strip Lashes?
Personally, I appreciate both types of lashes. A strip lash is a one-and-done deal that doesn't require multiple steps. Also, if you’re going for a dramatic eye, strips blend nicely with your eyeliner and take your makeup to the next level. However, they can be harder to customize (even if you trim the strips beforehand). On the flip side, individual lashes give you more control and tend to look more natural. And because they're applied in smaller sections, you don’t have to worry about having to conceal them afterwards, like you sometimes do with a strip. Bottom line: Try both to see which one works best for you.
Our Recommendations