A big part of dog parenting is grooming. When you adopt a dog into your family, be prepared to groom her coat, brush her teeth, trim her nails and clean her ears. Ears are tricky, though: You don’t want to overdo it when cleaning your dog’s ears, but you also don’t want to ignore them completely. Ear infections are some of the most common reasons dogs have to visit their vets. If you’re wondering how to clean your dog’s ears—and when and why—keep reading for a complete breakdown of the process.
How to Clean Your Dog’s Ears (Because Canine Ear Infections Are No Joke)

•
Published Sep 8, 2021
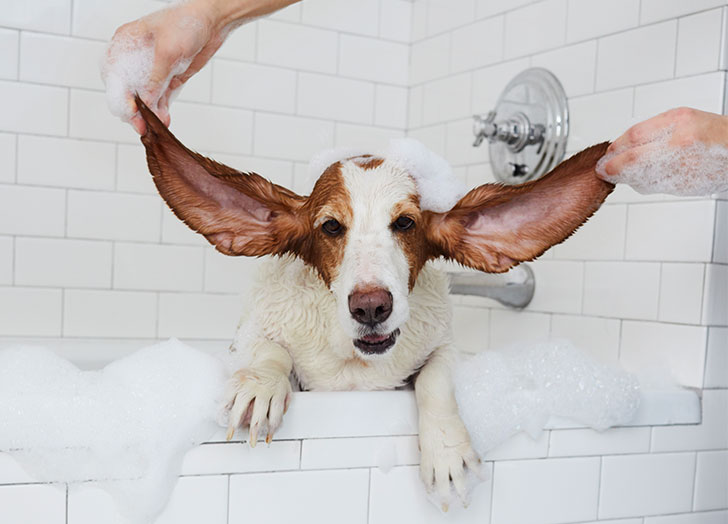
© Winnie Au/Getty Images
Why Do I Need To Clean My Dog’s Ears?
Cleaning your dog’s ears prevents your pup from getting ear infections. A buildup of dirt or moisture (or both) in a canine ear canal can swiftly cause an infection. Damp, dark spaces are breeding grounds for yeast and bacteria (and sometimes mites). More often than not, an inner ear infection starts on the outside and works its way in. In some cases, an ear infection can lead to deafness or other more serious disorders if left untreated.
How often do I need to clean my dog’s ears?
It depends on the dog! Breeds with extra furry or long ears will need more frequent ear cleanings. This is because dirt, moisture and dust accumulate faster and stick around longer in those types of ears. Some of the long-eared dog breeds that pup parents need to watch closely include:
- Basset hounds
- Bloodhounds
- Black and tan coonhounds
- Afghan hounds
- Beagles
- Cocker spaniels
- Irish, English and Gordon setters
- Havanese
- Lhasa Apsos
- Wiemerieners
Shar-Peis and poodles are also prone to ear infections because of the extra skin and hair surrounding their ears, respectively.
Dogs who spend a ton of time in water are more likely to get an ear infection, as well. A pointy or short ear is much better at airing out after getting wet, but be sure to dry your dog’s ears after giving them a bath or letting them swim no matter what.
Unfortunately, too much ear cleaning can actually lead to an infection. The American Kennel Club advises cleaning a healthy dog’s ear only if you see signs of trouble. Visual signs of trouble include inflammation, redness, discharge or your dog constantly scratching at her ears. If you smell something unpleasant coming from your dog’s ears, that's a clear indication something is wrong.
Other vets have recommended anything from every other week to once per month. Dr. Amy Panning, DVM, of VCA Animal Hospitals, says you should ask your vet what they recommend based on your dog’s medical history. Again, cleaning too often—and digging around in there when there is an infection—can make things worse.
Supplies
All you need to give your dog a good ear-cleaning is a vet-approved, dog-safe ear cleaner, cotton balls or gauze and a towel. Solutions like Vet’s Best Dog Ear Cleaner Kit and Virbac EPIOTIC Advanced Ear Cleanser are good for regular cleanings and ear health. We also highly recommend having a few treats nearby to reward your dog with after each ear. Your dog will thank you (and associate this process with treats in the future).
Do not use Q-tips or anything of a similar shape, which could harm your dog’s inner ear. Do not use any products intended for humans, including hydrogen peroxide.
How to clean your dog’s ears
If you have a breed with exceptionally hairy ears, you’ll find cleaning them is a lot easier after they’ve been freshly groomed or trimmed.
- Massage or pet the ears first to ensure your dog isn’t in pain. Make sure your dog is also in a good, calm state of mind.
- Pick a familiar spot in your home that you aren’t afraid to get wet (see below).
- Lay down a towel.
- Sit down with your dog between your knees. If you have a huge dog, Dr. Panning recommends using the corner of a room so your pup can’t wriggle backwards. Sit with your dog between you and a wall.
- Hold the cleaning solution in one hand and lift up one ear with the other.
- While being careful not to insert the bottle tip into your dog’s ear, gently squirt the cleaning solution into the ear canal. Some might spill out! That’s okay.
- Massage your dog’s ear at its base for 30 seconds. You’ll hear some solution moving around. That’s good—it’s doing its job.
- After 30 seconds, use gauze or a cotton ball to wipe the inside of the ear flap.
- At this point, your dog is going to shake her head. Again, this is good. She’s helping the solution wash out any debris or dirt hanging around.
- After a good shake, wipe the ear again with a fresh cotton ball or piece of gauze.
- Administer treats.
- Switch ears!
Though it might be tempting if there’s a lot of gunk, never stick anything into your dog’s ear to dislodge something or for a “deep clean.” You’re only allowed to stick your finger in the ear—gently!—if a foreign object needs removing. In this situation, it’s wise to use a wipe, like Vet’s Best Ear Relief Finger Wipes. Even then, consult your vet. If at any point your dog yelps or appears to be in real pain, stop the process and contact your vet.
Dr. Panning says keeping the cleaning solution bottle tip sterile is of the utmost importance. Should you accidentally touch your dog’s ear with the bottle, wipe it down with a disinfectant or alcohol before using it again.
Happy ears, happy pup.