You know never to arrive at a party empty-handed. But that last-minute bouquet from Stop & Shop isn't holding up to your normal hostess-gift standard. We took a cue from florist BloomThat to bring you this super-easy tutorial on upgrading cheapo blooms.
The Easiest Way to Gift Cheap Flowers
Look and learn

•
Published Nov 17, 2015

BloomThat

BloomThat
What You Need
- Any ol' flowers
- A square of burlap (about 18 square inches)
- A plastic baggie
- A rubber band
- A fabric ribbon (also about 18 inches long)
- A card (optional)
- A clothespin (optional)
BloomThat
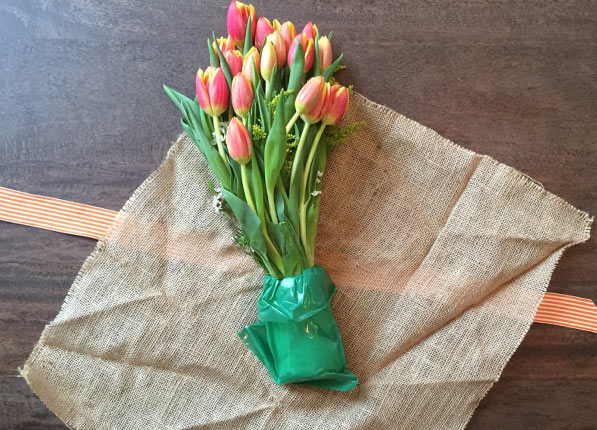
Stack Your Goods
First, lay down your ribbon and then your burlap, with a corner point up top. Second, place the plastic baggie around the end of your stems and secure with the rubber band. (This keeps any moisture from seeping onto the burlap.)
BloomThat
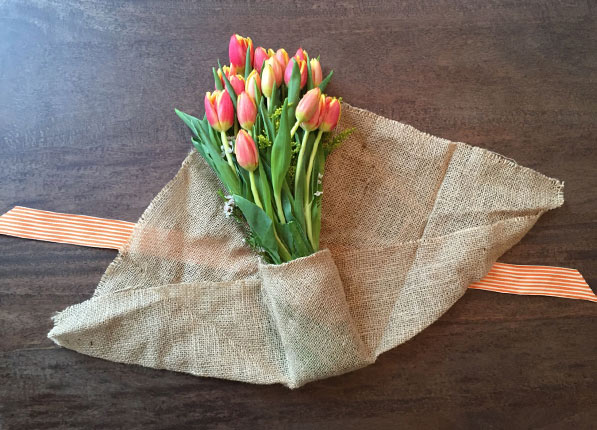
Fold Up The Bottom
Before you wrap your flowers, take the bottom corner and fold it to be a squared end. Then bring up the entire bottom half of the burlap. Tuck the fabric around the sides of the stems.
BloomThat
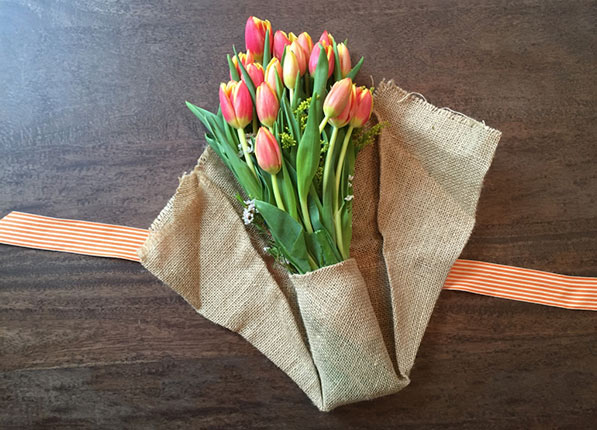
Fold In The Sides
Here's where it gets interesting: Crease the two side corners to run vertically along the flowers.
BloomThat
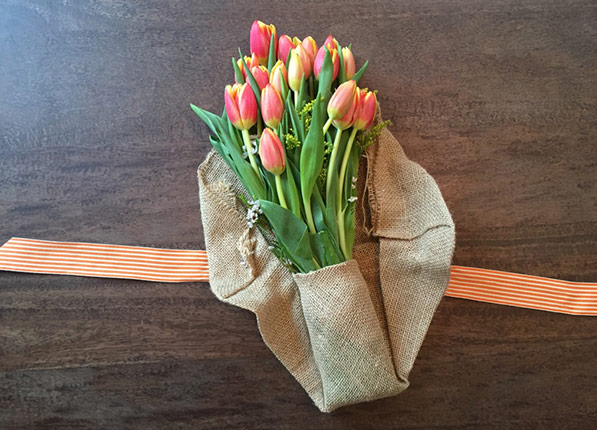
Fold Down The Top Corners
Soften the edges by bringing down the top two corners.
BloomThat
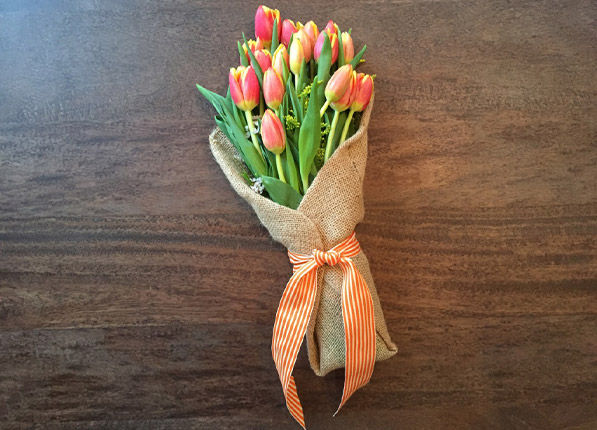
Wrap Like A Burrito
Bring together the two sides of the fabric. You're almost done.
BloomThat
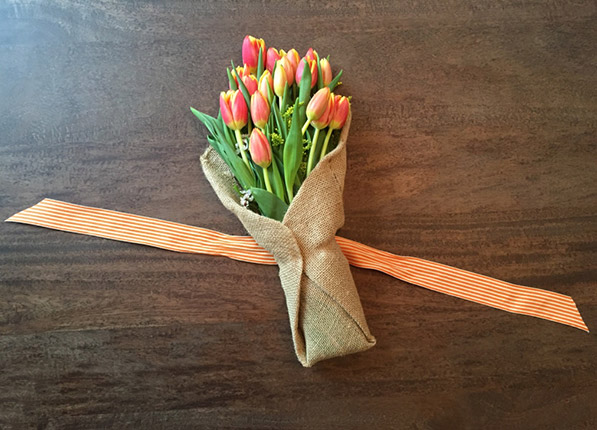
Tie A Sleek Knot
Bows! Knots! Whatever you prefer. (We're Team Knot.)
BloomThat
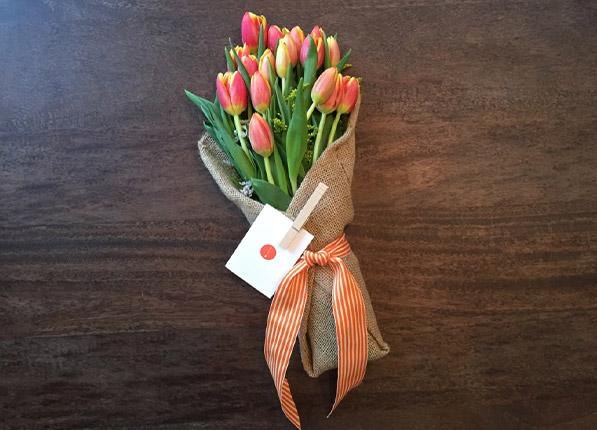
Add A Card
Technically, you can stop at the last step. But for a nice finishing touch, clip a small square card with a clothespin. You are officially the favorite houseguest.